
Your Shopping Cart
Loading...
Hot Items
Ski & Snowboard Outlets
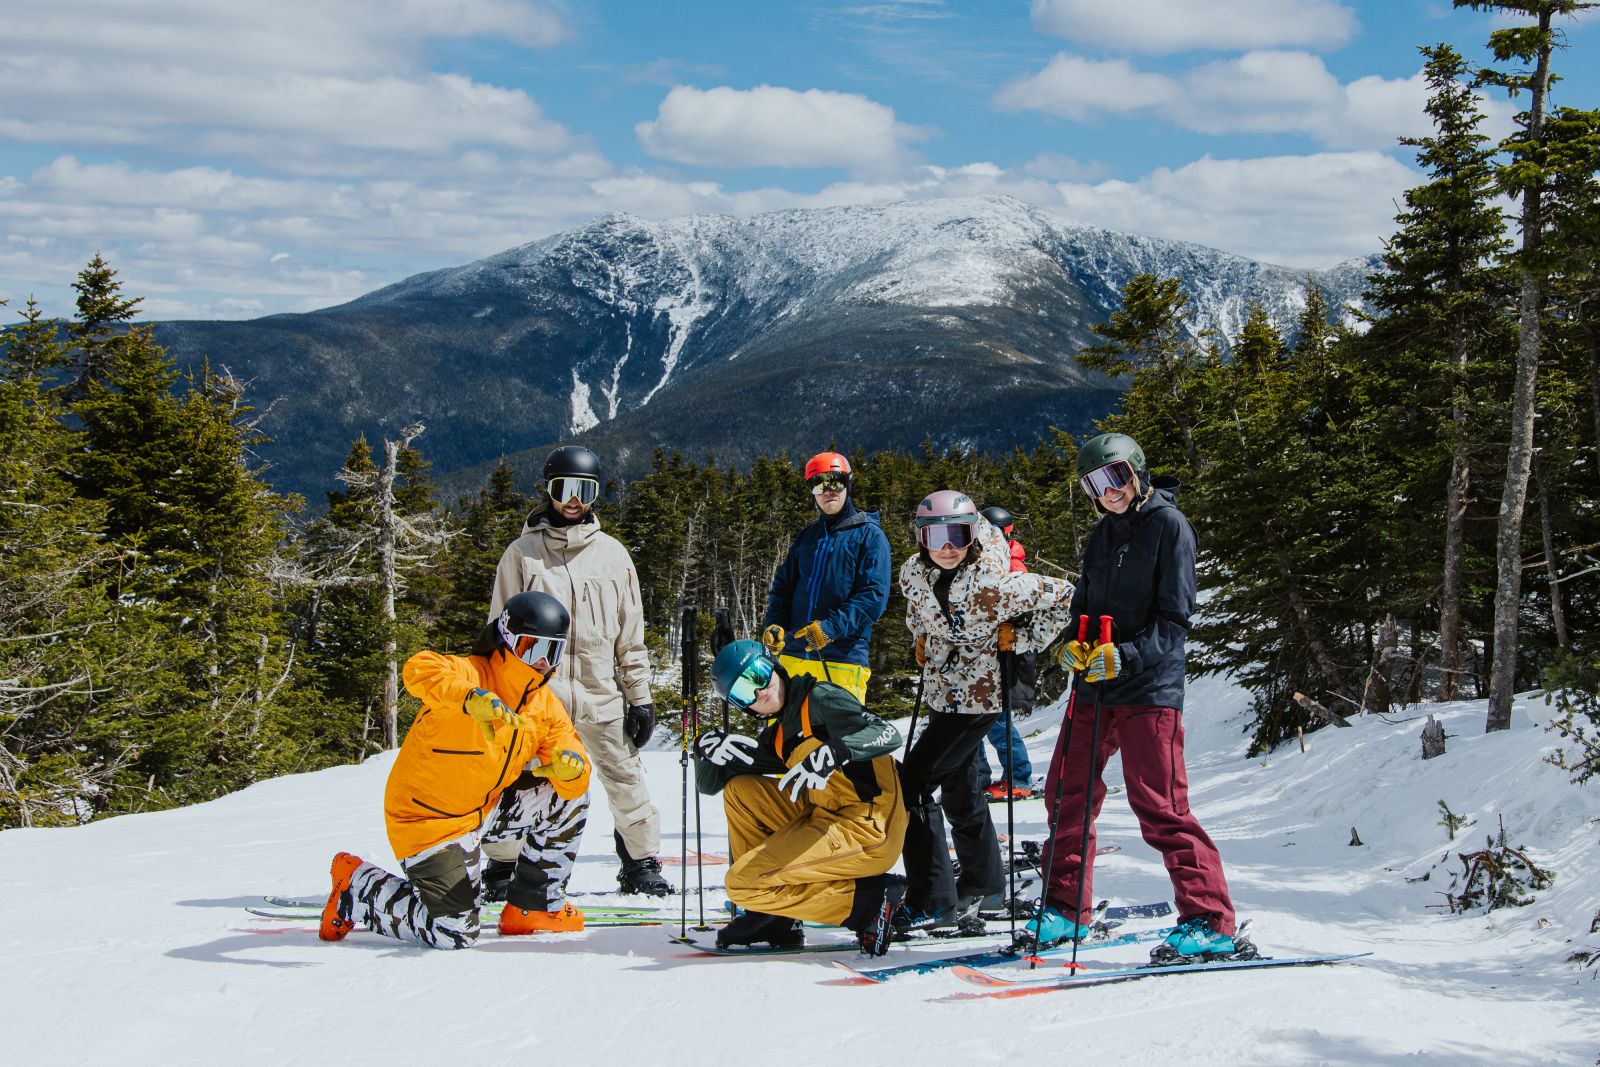
How to Layer Properly for Skiing and Snowboarding
Posted February 14, 2020 @ 9:47pm | by Devon Scovill
It’s January, one of the coldest months of the year and you’re thinking about throwing down your poles because you can never stay warm.
Don’t stress. You might just need to update your closet to match the quality of your quiver.
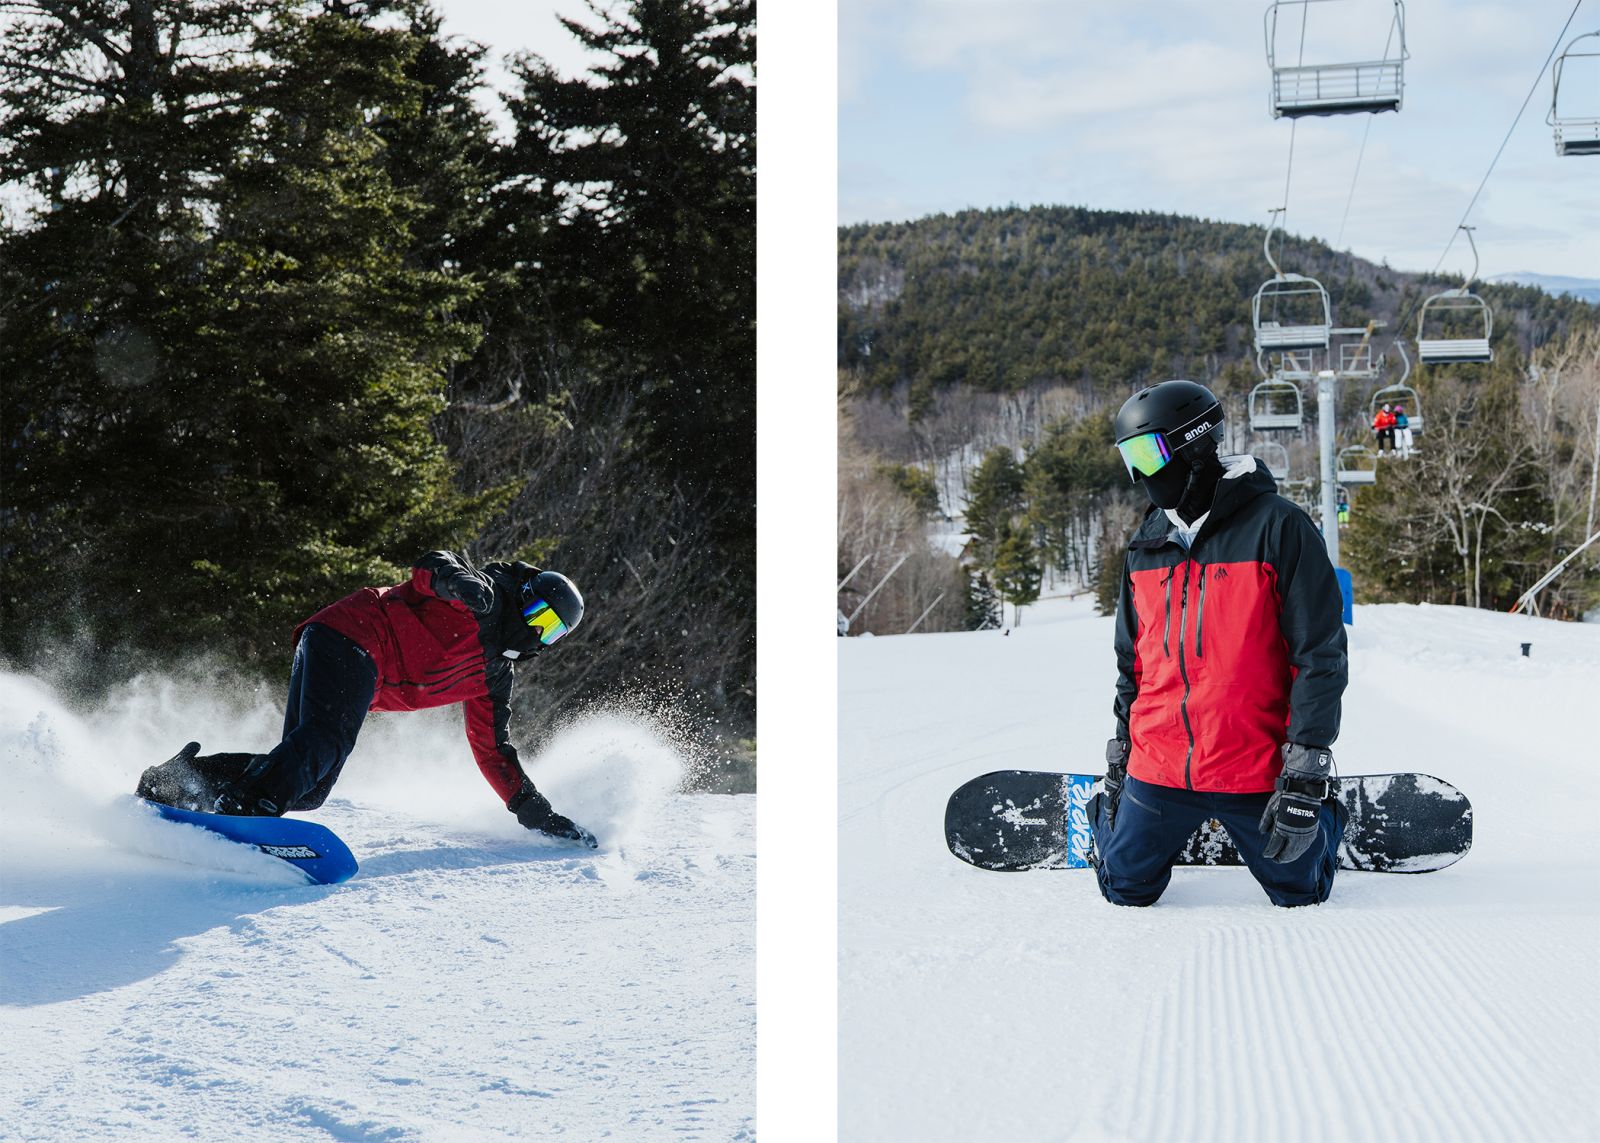
Every ski apparel company out there has been coming out with “shells”. Non insulated, 2 or 3 layers sheets of fabric that look and feel super cool but we realized how many people do not understand the beauty of this magnificent peice of outerwear.
While a shell may look like a glorified rain coat to some, the real reals know this is the pinnacle piece on how to have a rad season regardless of the temps.
Shells are a key piece in our favorite term “the layering system”. Ok, that’s not exactly our favorite term, but it’s something we definitely say a lot.
Shells are designed to protect you from the wind, snow, and yes sometimes rain, while the good ones are still incredibly breathable and let you move moisture all the way from your skin, out.
However, this only works if you know how to layer. Shells are basically one part of a wearable eco-system. Let’s start with the basics, from the bottom up. Literally, your bottom. If you are wearing cotton underwear, you’re already off to a bad start.
STEP 1
We are going to let you sort the skivvy’s part out – let’s skip to your feet.
You just sat with a boot fitter for an hour plus and probably tried on more than three different boots before finding “the one”. Then you had these puppies heated up and molded custom to your feet, right? So you now have the most custom fit piece of footwear you own and you’re going to try to shove an insanely cushioned fat sock in there because you’re always cold?
WRONG.
Those boots are a perfect fit, so there is no room for cushy slipper style socks to cram in there. Your bootfitter probably encouraged you to use your own socks or gave you one to use for the fitting. These socks should have most importantly been A) Wool or another moisture wicking synthetic, and B) have strategically placed cushioning. Most ski socks will have light or no cushioning on the foot and some cushioning on the shin to give a little extra protection for those hard charging runs. A heavy cushioned sock might feel good to walk around your kitchen in but in a tight fitting ski boot, it’s just going to mess with your circulation which will lead to, you guessed it, cold feet. Need an upgrade? Try Smartwool for warm merino and Dissent for a moisture wicking compression sock. (Snowboarders - you lucky s-- you can wear the heavier cushioned socks)
.jpg)
STEP 2
Ok so now that we’ve got our socks on, let’s look at your base layers. No, your cotton sweatpants are not base layers. If you mess this part up, you’re doomed from the start.
Wet skin (I know, gross) is the enemy. No matter what, you are going to sweat. Even on a cold day. Think about when you’re in full gear waiting in the lodge for Eric to find his other mitten, or Dylan to locate the lift ticket he already lost, you’re already starting to sweat. When you go outside, if that moisture is still on your skin on a cold day, you’ll start to get cold.
Moisture wicking material, like merino wool, is going to move the moisture away from your skin to keep it dry and prevent that initial chill factor.
Base layers also come in weights like socks. Some people are happy in lightweight such as a 150g weight. If you run cold, you may want to consider a midweight like a 250g. This number is the weight of the material used in the garment.
Need to up your base layer game? Try Smartwool baselayers. High performance merino wool to keep you dry and toasty. Some other cool facts about Merino, it dries quickly, maintains it’s warmth when it’s wet and is naturally anti-microbial. Read: You won’t smell like a gym sock.
.jpg)
If you are wearing a shell pant, you may be fine in just your base layer bottom but on an especially cold day, you may want to consider a heavier weight mid layer like the Orage Phenoix Pant.
Shell pants allow you to control the temp as the season or even the day changes. The TSM crew has pretty much converted to bibs. Did you hear? Bib’s are back. My dad is psyched- his 10 year old Gore Tex sailing bibs are basically back in style. Slip this one layer on over a lightweight base and get out there. Try Orage Men's Gibson 3L Bib or the Women's Cliff 3L Bib or the Mammut Haldigrat Bib.
Can’t be bothered by the shell and all it’s techy cool features? Opt for an insulated pant with a built in layer of warmth to keep you warm while in motion and while sitting on a cold chair. We like Mammut Stoney Thermo pants // Women's Stoney Thermo
STEP 3
While you are sure to be looking super stylin’ in your merino base layers and your bibs in the lodge, it’s time to go outside. Here is where your game is going to change based on the temps outside. A mid-layer will get you through some days on it’s own. It’s important to pick a layer that will work with your base layers. Meaning, your base has done all the work to get the moisture off your skin but now it needs to go somewhere. A wicking mid layer will help keep that moisture moving up and out. Merino can work here again in a heavier weight or a wicking layer like Mammut Taiss Light ML. Oftentimes, these mid layers come with helmet compatible hoods or high necklines that you can wear like a balaclava or face mask.
STEP 4
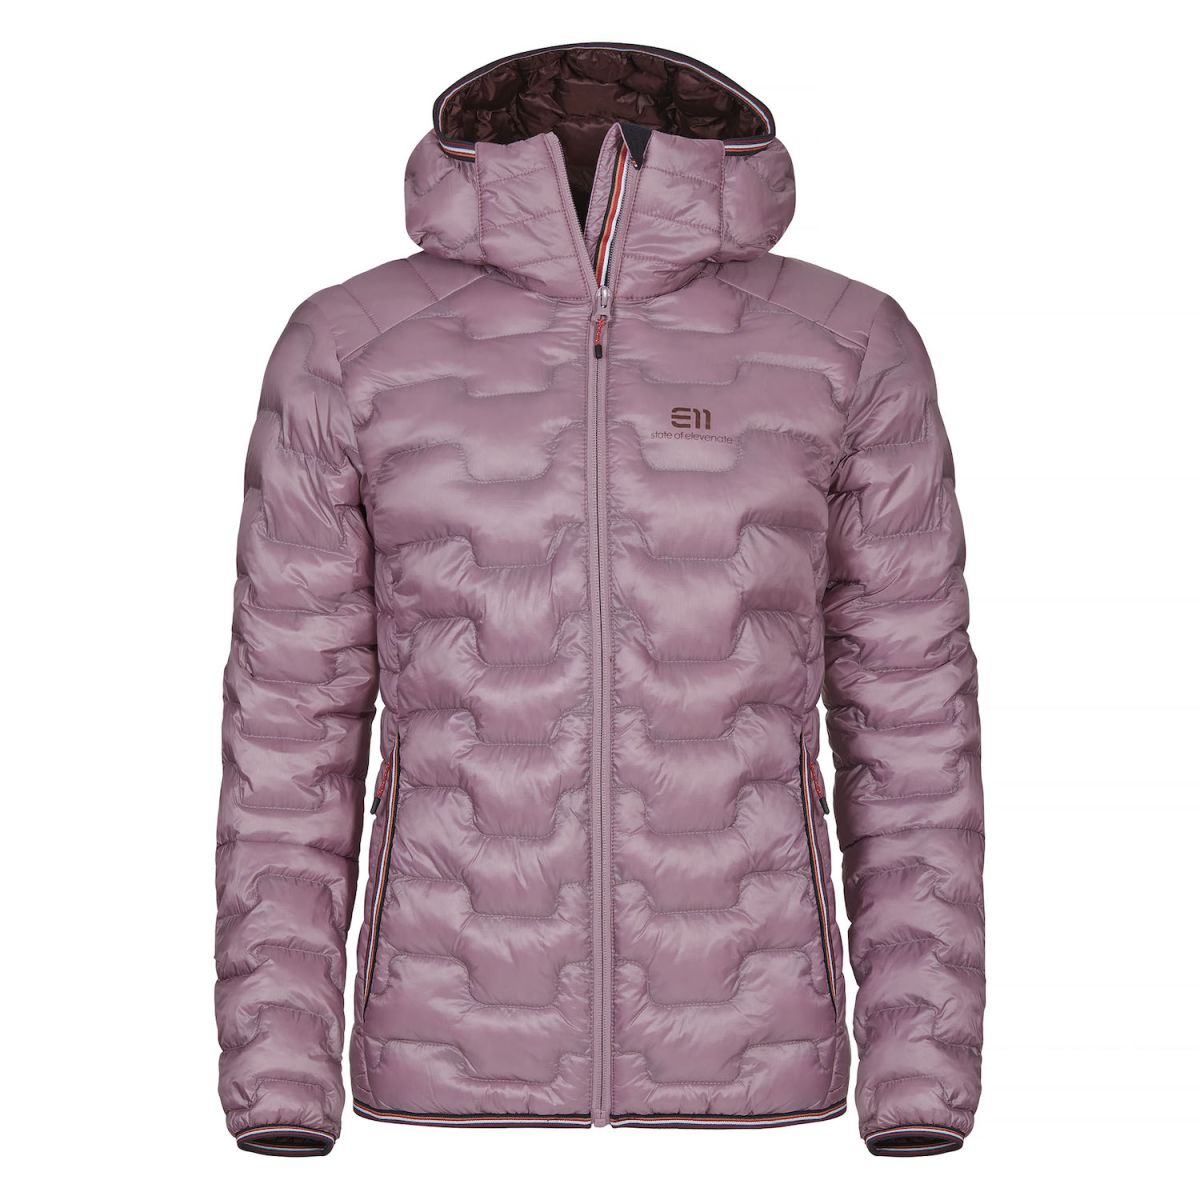
After your mid layer, you will want an insulator. Any lightly insulated jacket or micro puff designed with quilted blocking to trap air and heat it up with your body heat to keep you…well…insulated. Materials like Primaloft let your layering system keep breathing while trapping just enough warmth to keep it cozy. We like the North Face Breithorn 50/50 or for extra chilly days the Elevenate Motion Hood.
STEP 5
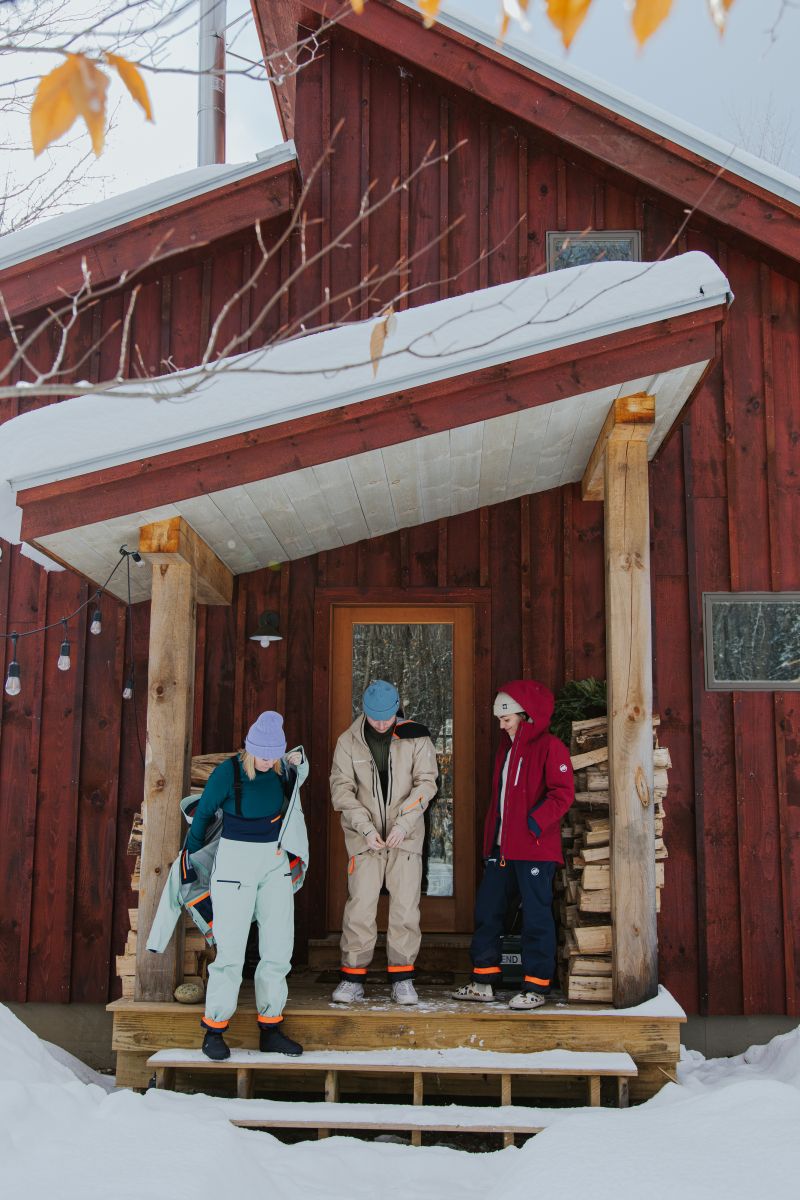
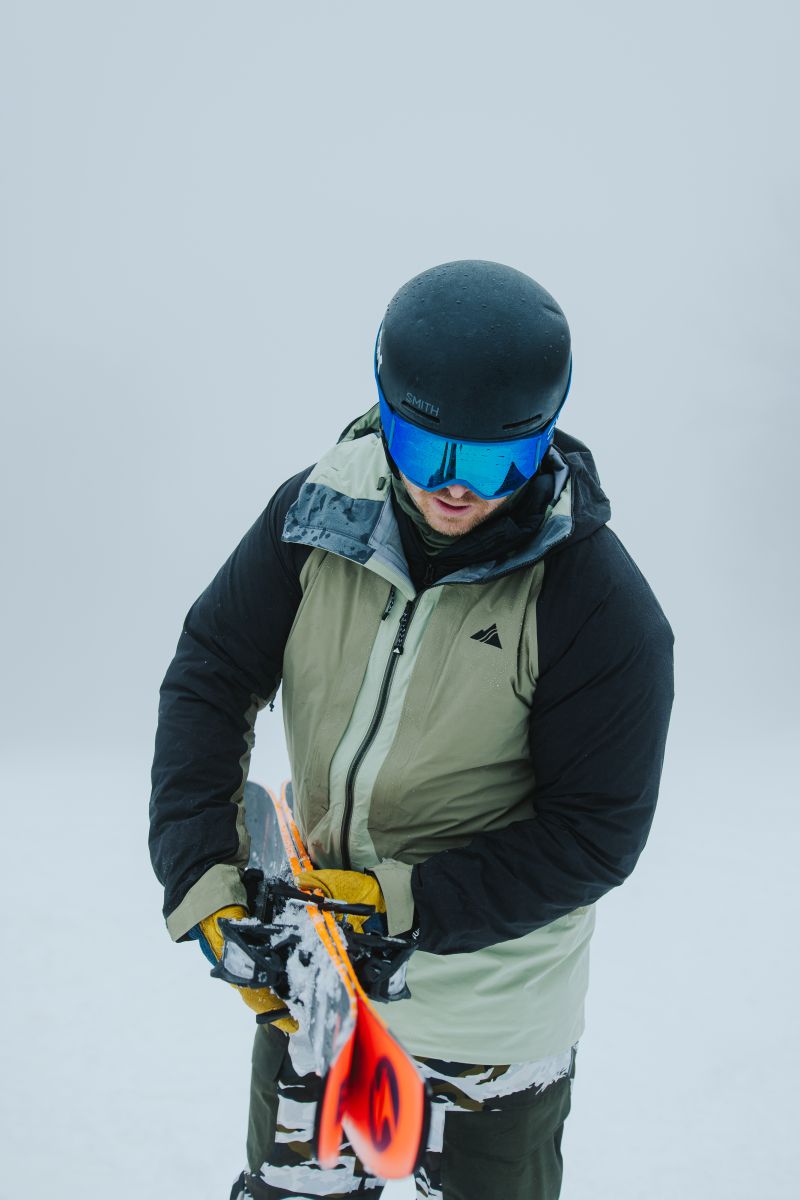
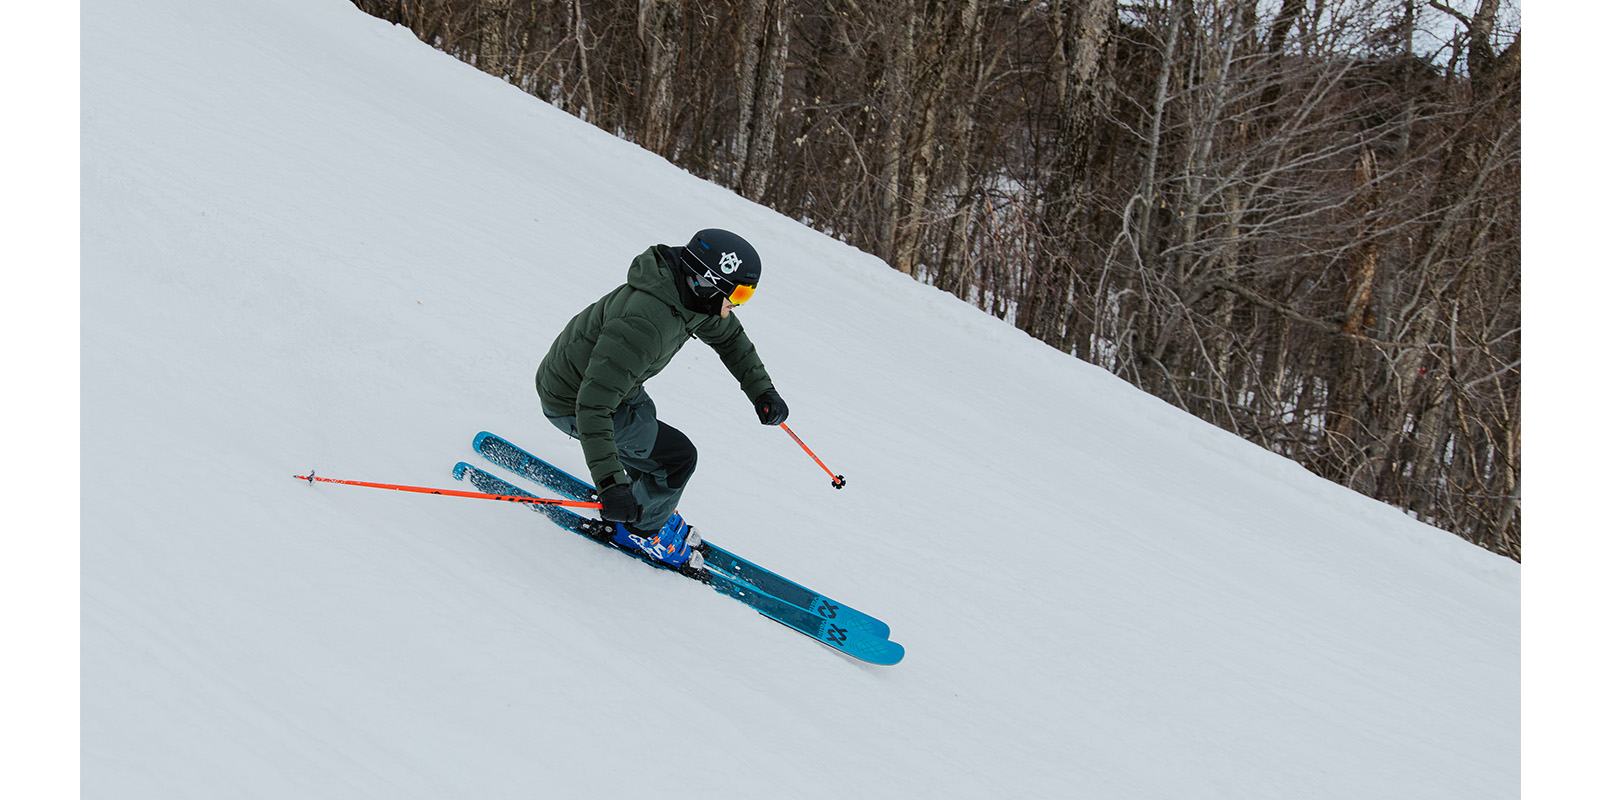
Now you are ready for your Shell. There are a lot of different choices out there for ski shells. Think about what you want to get out of it. Is this going to be your hard charging ski shell that’s going to spend most of it’s days ripping through the trees? Are you planning on a lot of backcountry trips? Do you want to wear this as a multi-season piece?
Depending on your end use, you will want to decided based on face fabric durability (tree skiing and beat-your-gear-up types) and weight (I want to wear this hiking in the spring or I want something packable for touring)
George - Strafe Nomad Jacket
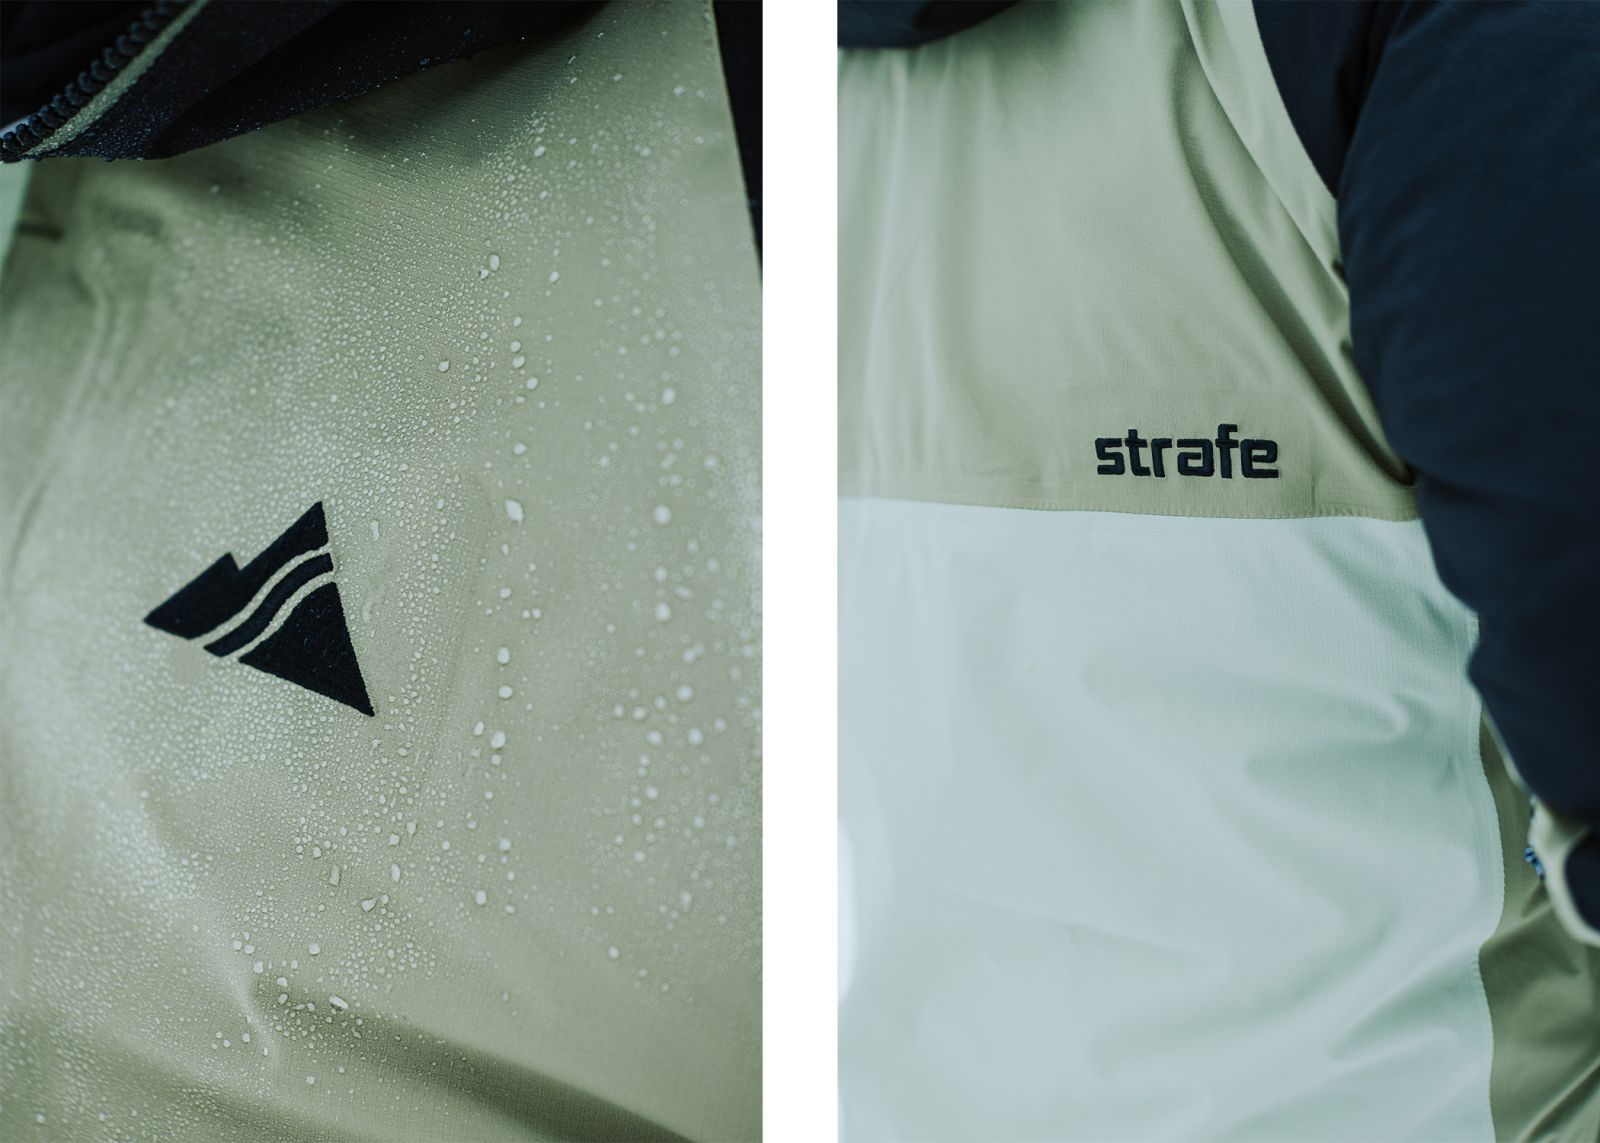
Shells in general will be built to keep you dry. Most boast taped seams, ventilation for breathability and a waterproof rating. If you are planning on some extreme weather, you can deep dive into the levels of waterproofing in the fabrics. You will want something within the 10k to 20k range for staying dry. Or relying on Gore-Tex to guarantee you won’t feel a drop.
Dlyan - Jones Shralpinist Jacket
Devon - Flylow Billie Jacket
While we prefer layering for the freedom of customizing (half of us are from New Hampshire and take our freedom’s very seriously #LFOD) too many layers can be overwhelming to some.
You can skip step 4 and 5 and choose an insulated jacket with built in warmth. There are tons of weights to choose from. The confident warmth of a high fill down jacket like Aztech Nuke Suit or a subtle lighter insulation like Norrona Thermo100
 Joe - Aztech Nuke Suit
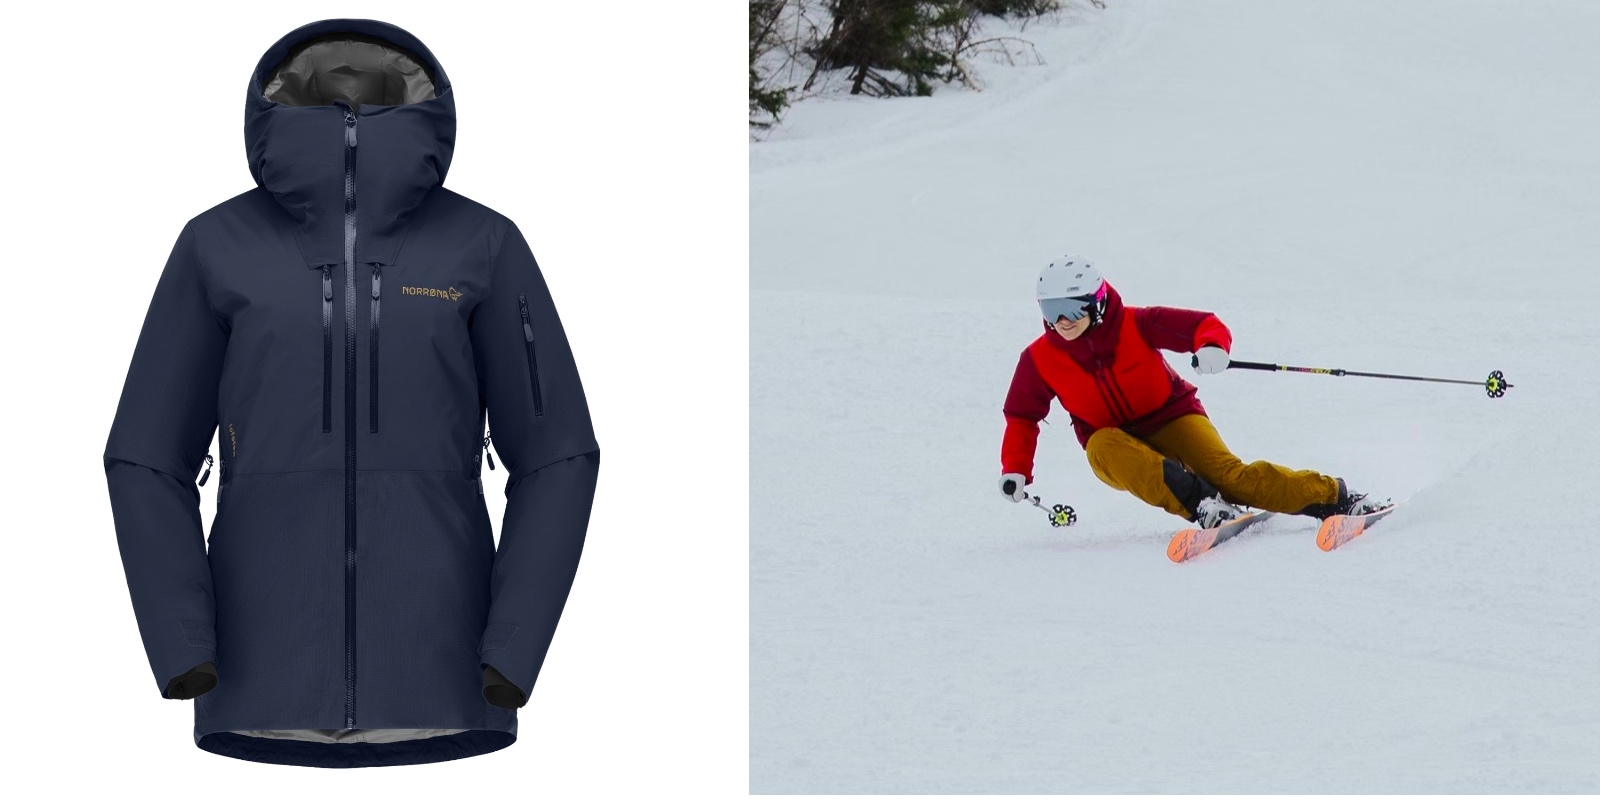 Kara - Norrona Thermo100
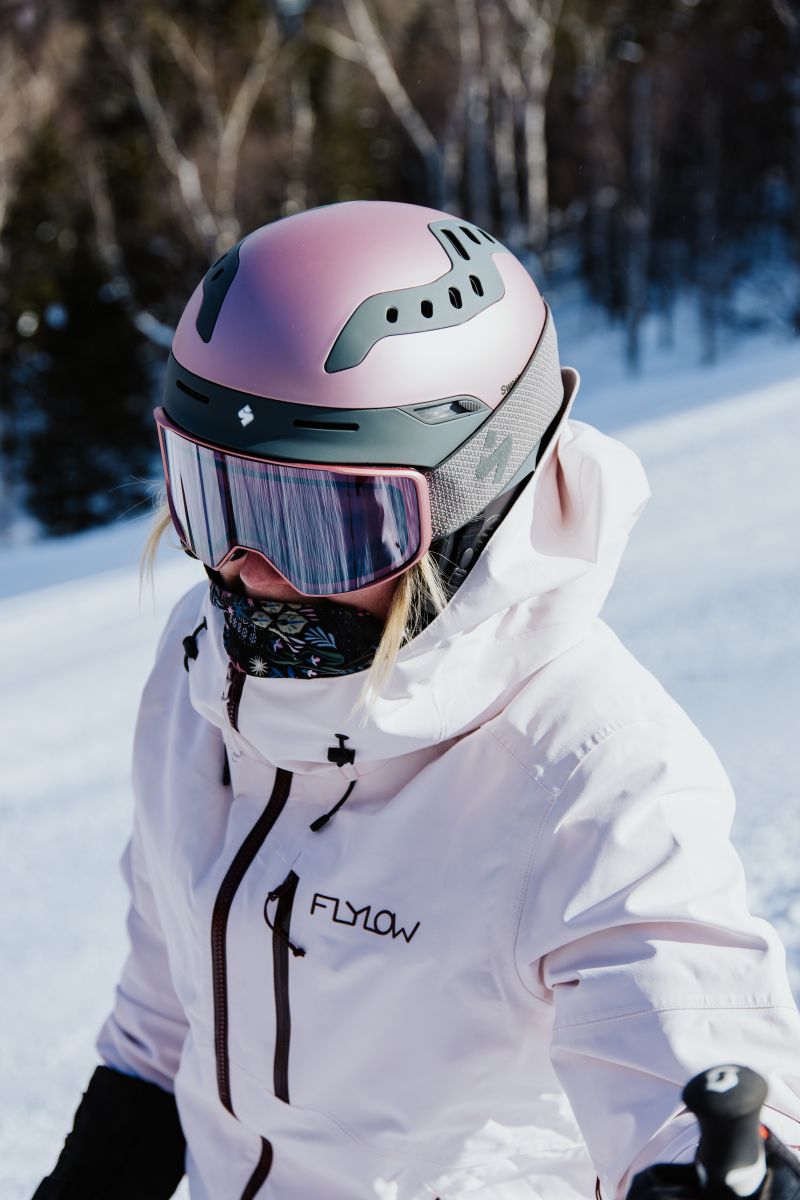
Lastly, don’t forget to take care of your money makers, your hands and face. A good facemask or Balaclava will take the bite out of your downhill charge. Merino is a great option here if you can’t stand the feel of a wet spit/snow covered fabric hanging out around your mouth. We like Mons Royale’s Double Up or choose a colorful balaclava, go neon with Blackstrap.
If you’re like me and the coldest part of any ski day is always your fingers, it’s time to switch to Mitten’s. Gloves are great for dexterity and convenience but isolating your little digits like that is not going to help keep you warmer. They need the warmth of their friends all huddled together in a mitten. Hestra’s Army Leather Extreme Mitten is our warmest on the wall. Or try Swany Calvin 3-Finger for a less bulky option. Pair any Glove or Mitten with a liner for some extra protection from the elements, especially when you take your gloves off for a chairlift selfie. Smartwool Liner Glove
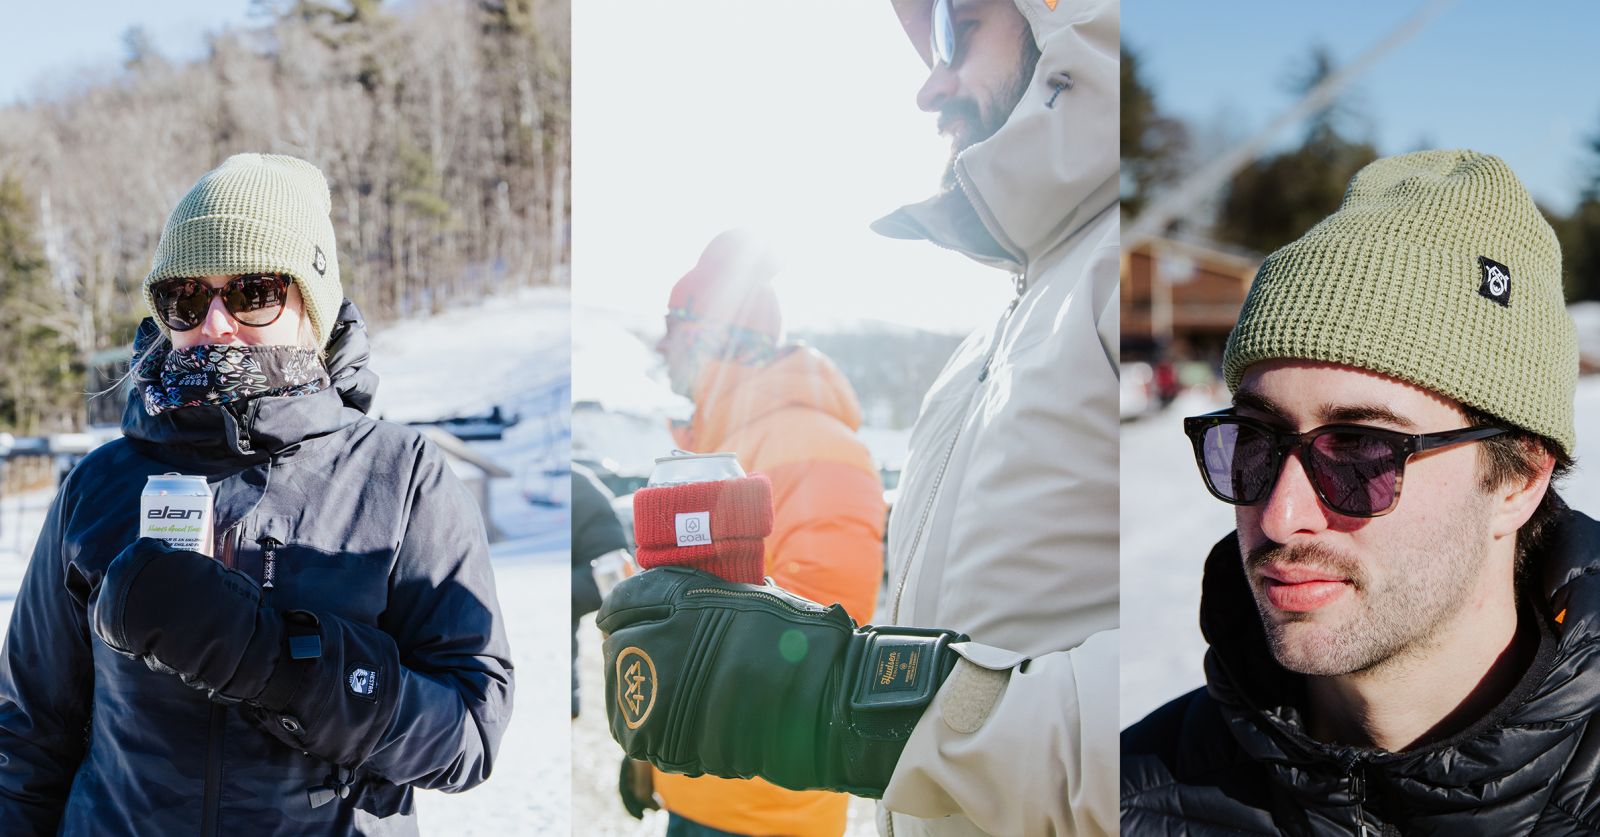
Hestra Army Leather Extreme Mitt // Skida Bandita // Swany Calvin 3-Finger Mitt // The Ski Monster Waffle Beanie
And would you just look at that, you’re properly layered up! If you still have questions about picking out the right kit for New England’s extreme’s, Colorado pow, or something perfect for Alps après, just ask any of the crew at The Ski Monster. We still have a ton of gear in store and online and can help make sure you’re looking good and super warm.