


Your Shopping Cart
Loading...
EXTRA 10% OFF YOUR ORDER WITH CODE: LETSGO
Shop by Category
Hot Items
Hot Items
Ski & Snowboard Outlets
How To Mount Burton EST Snowboard Bindings
Posted June 18, 2013 @ 6:27pm | by Eric Gerrmann
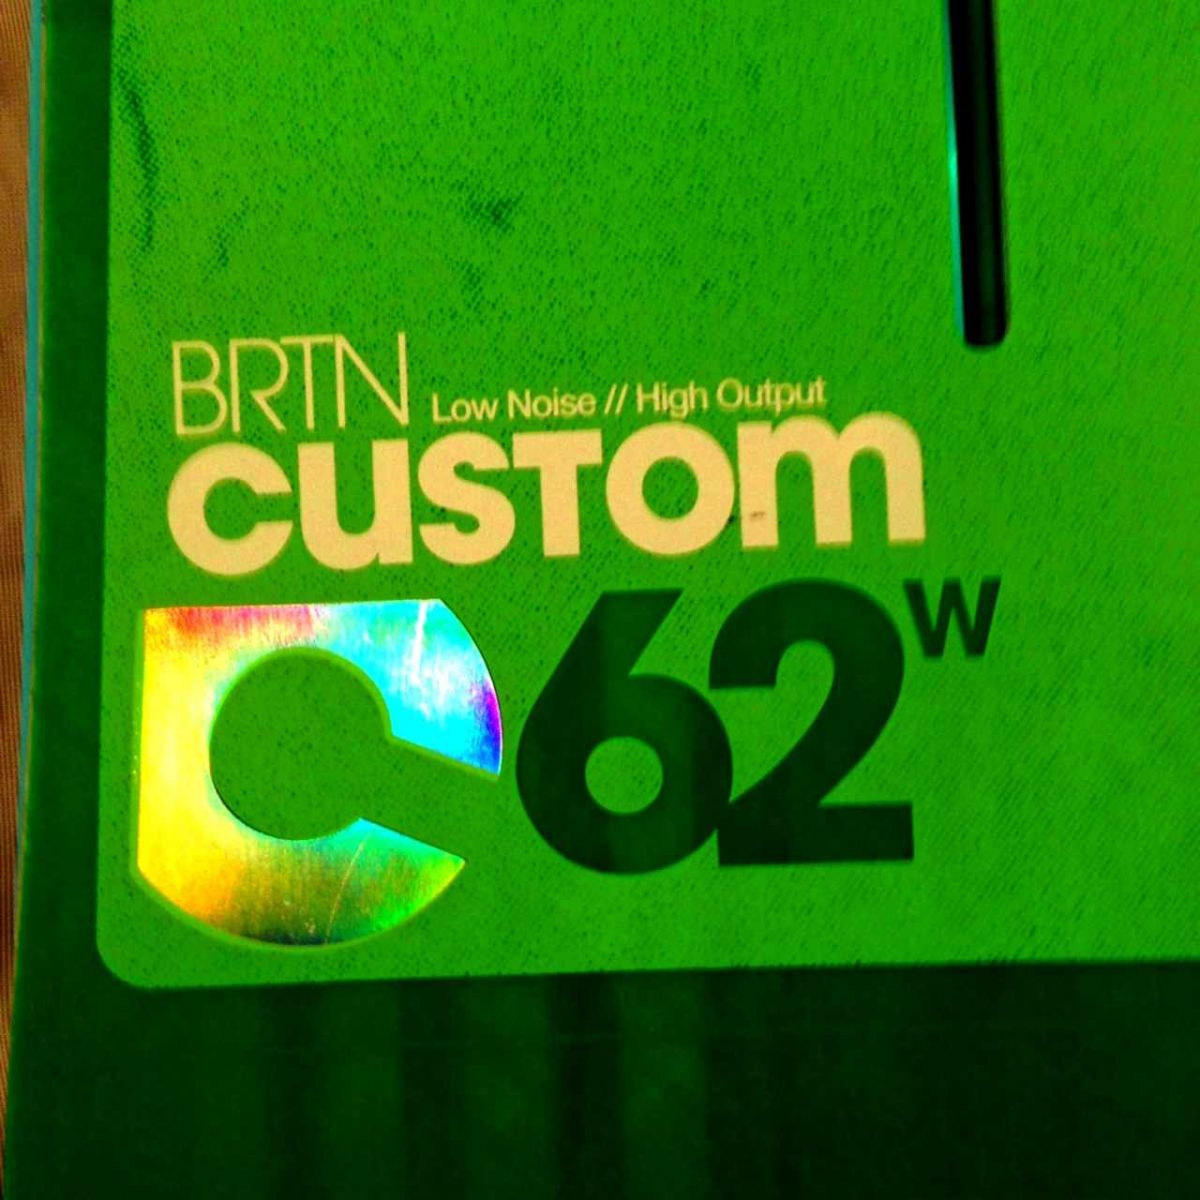
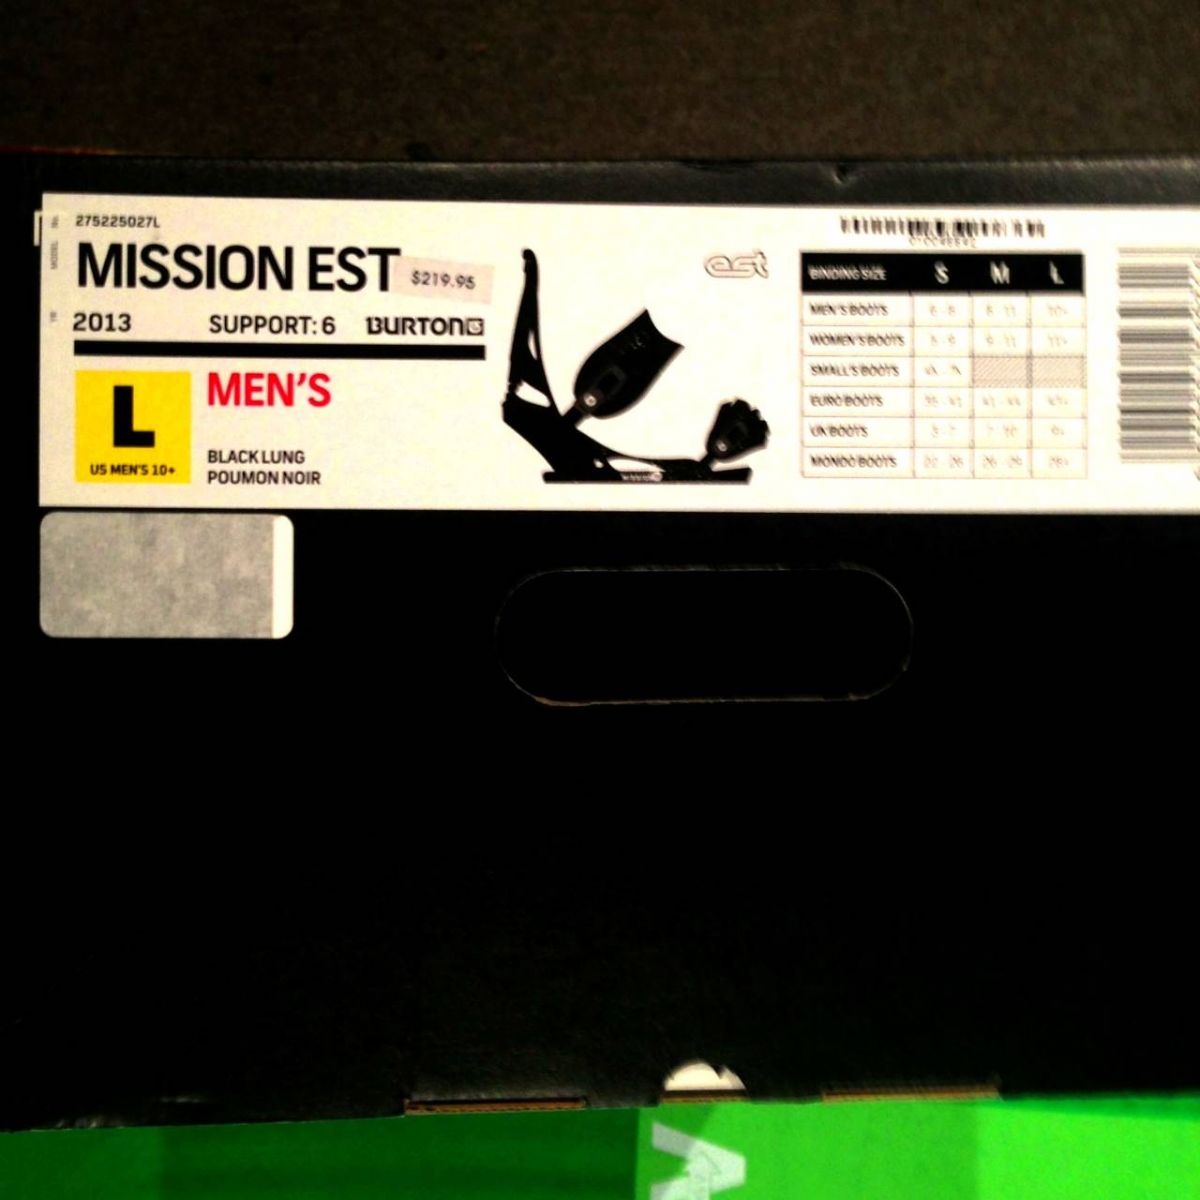
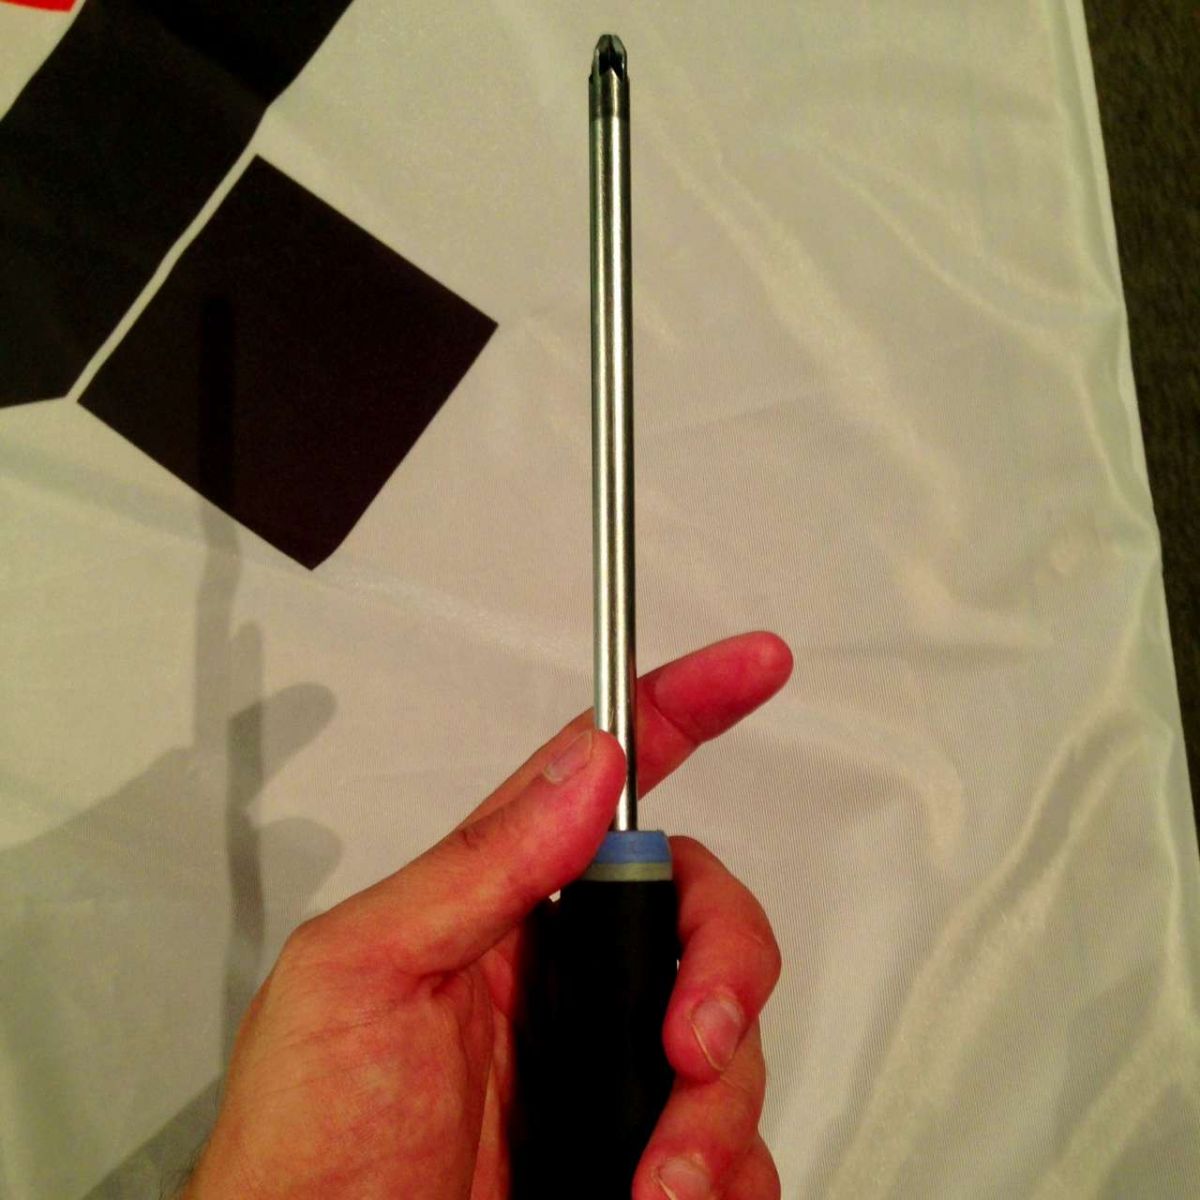
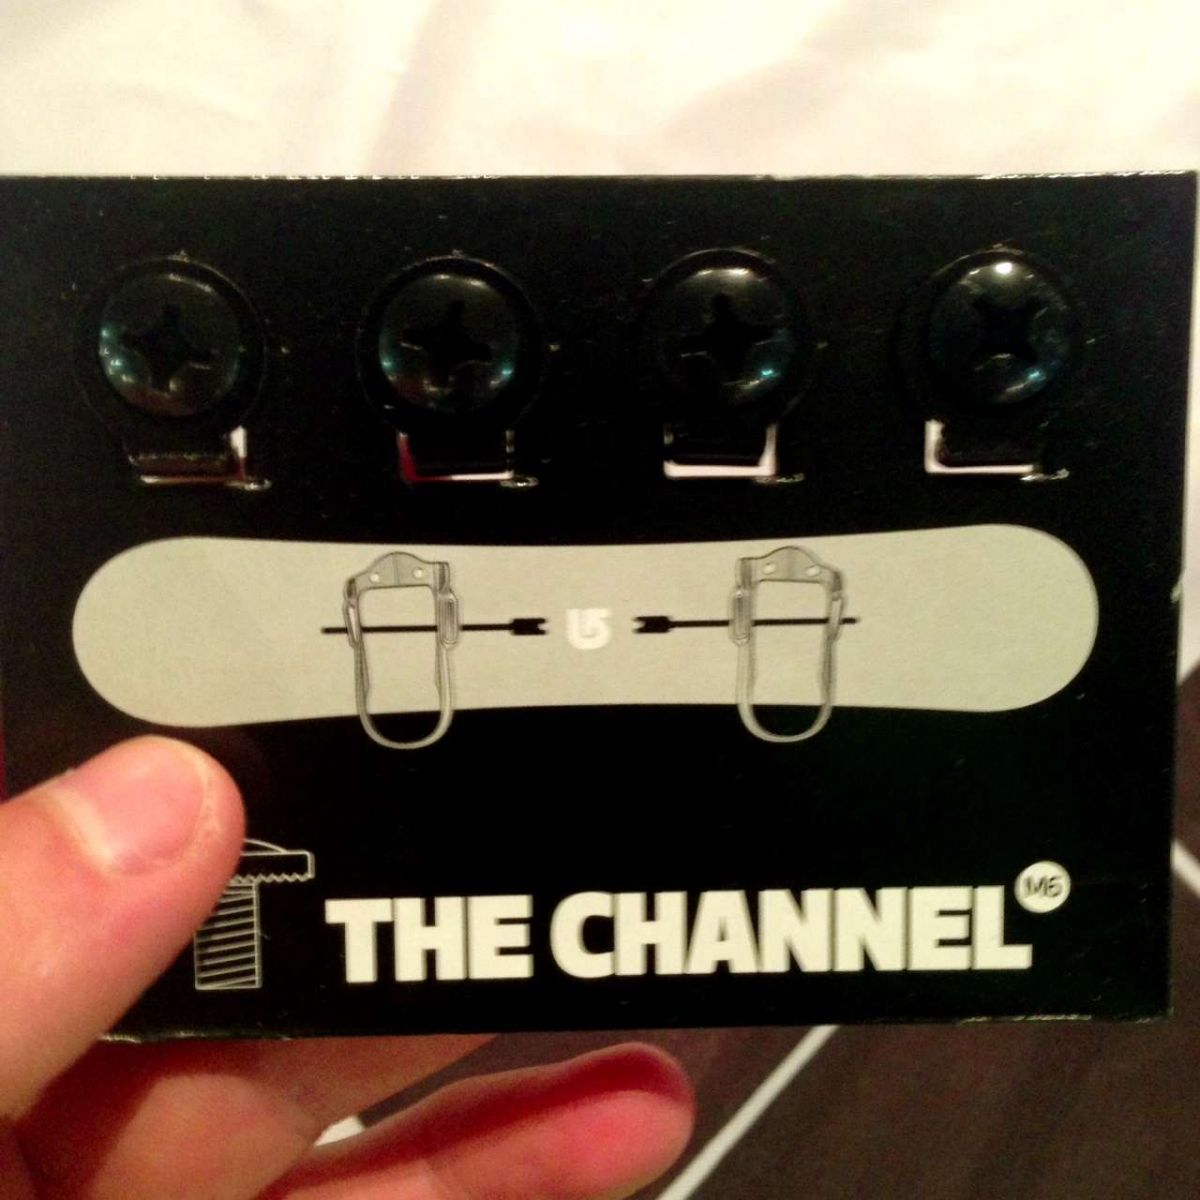
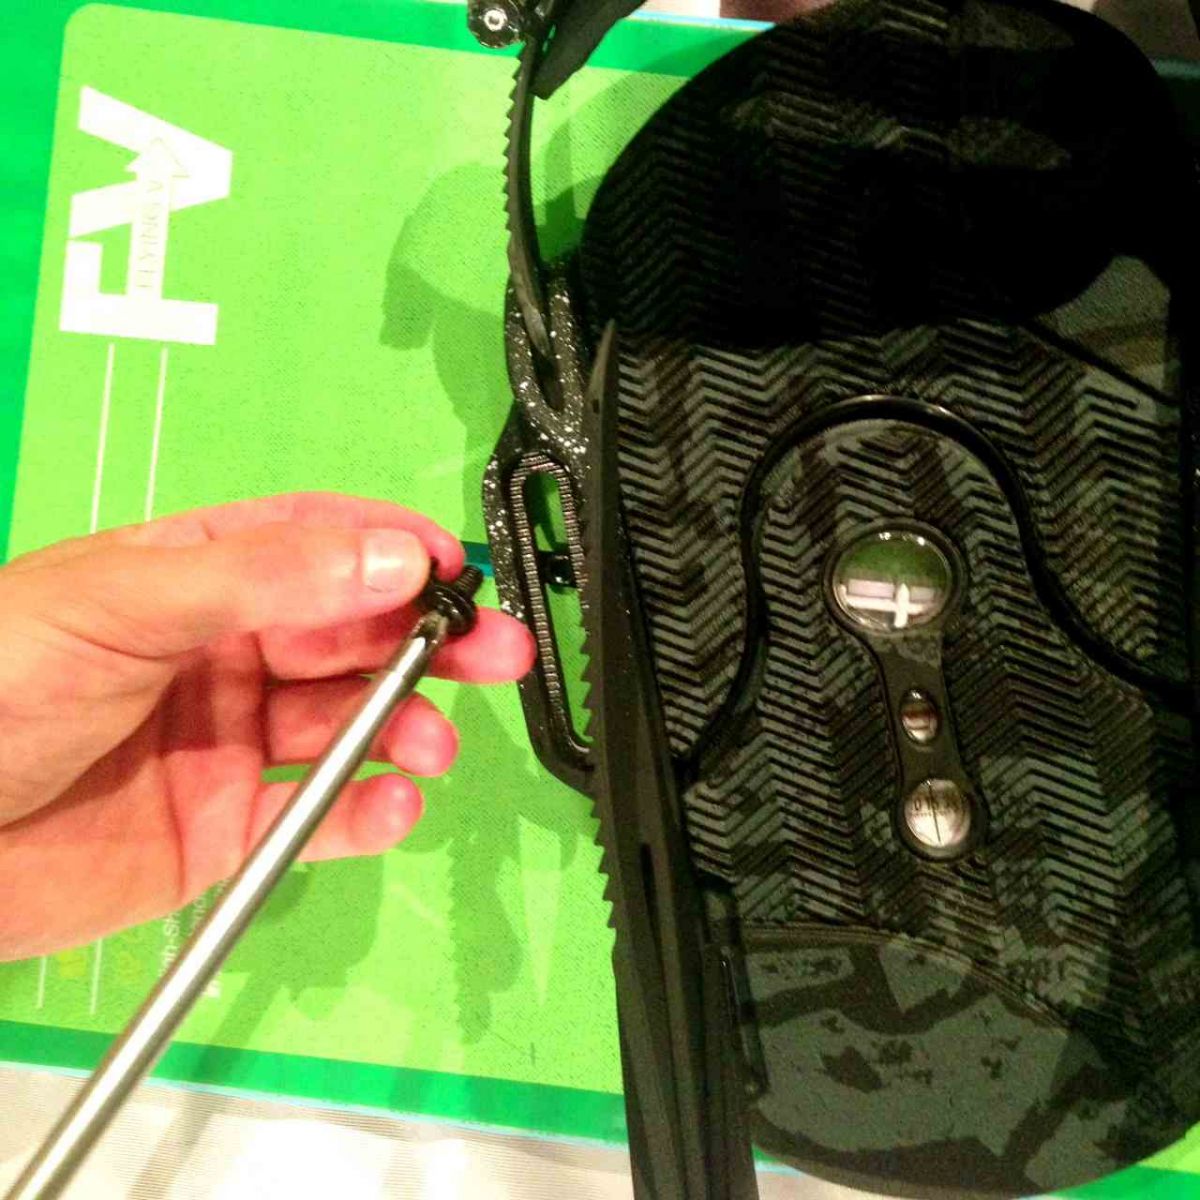
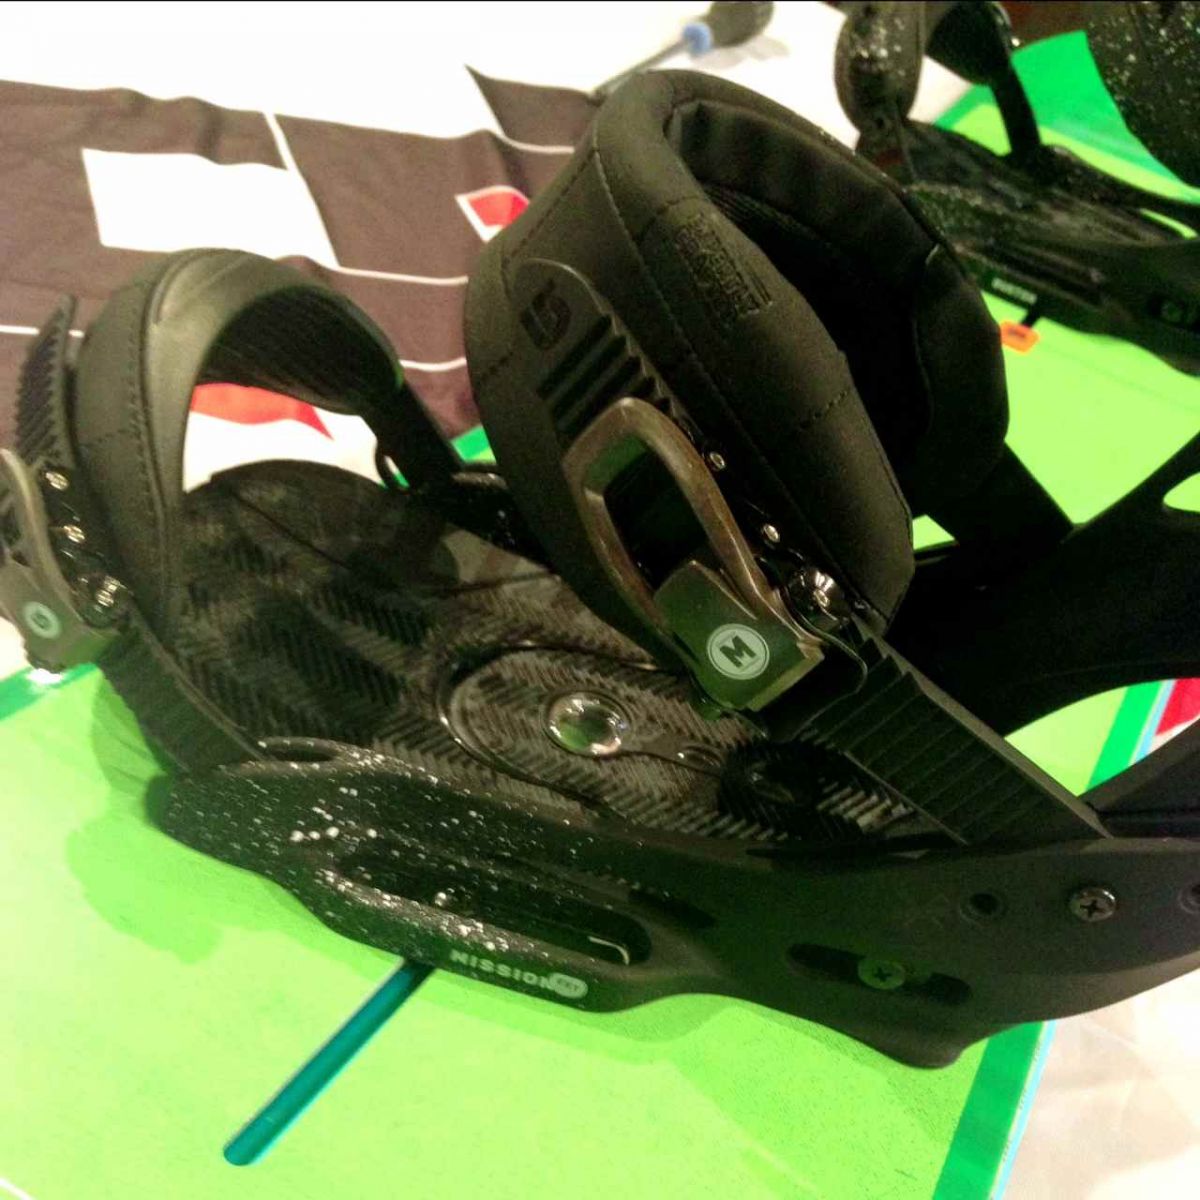
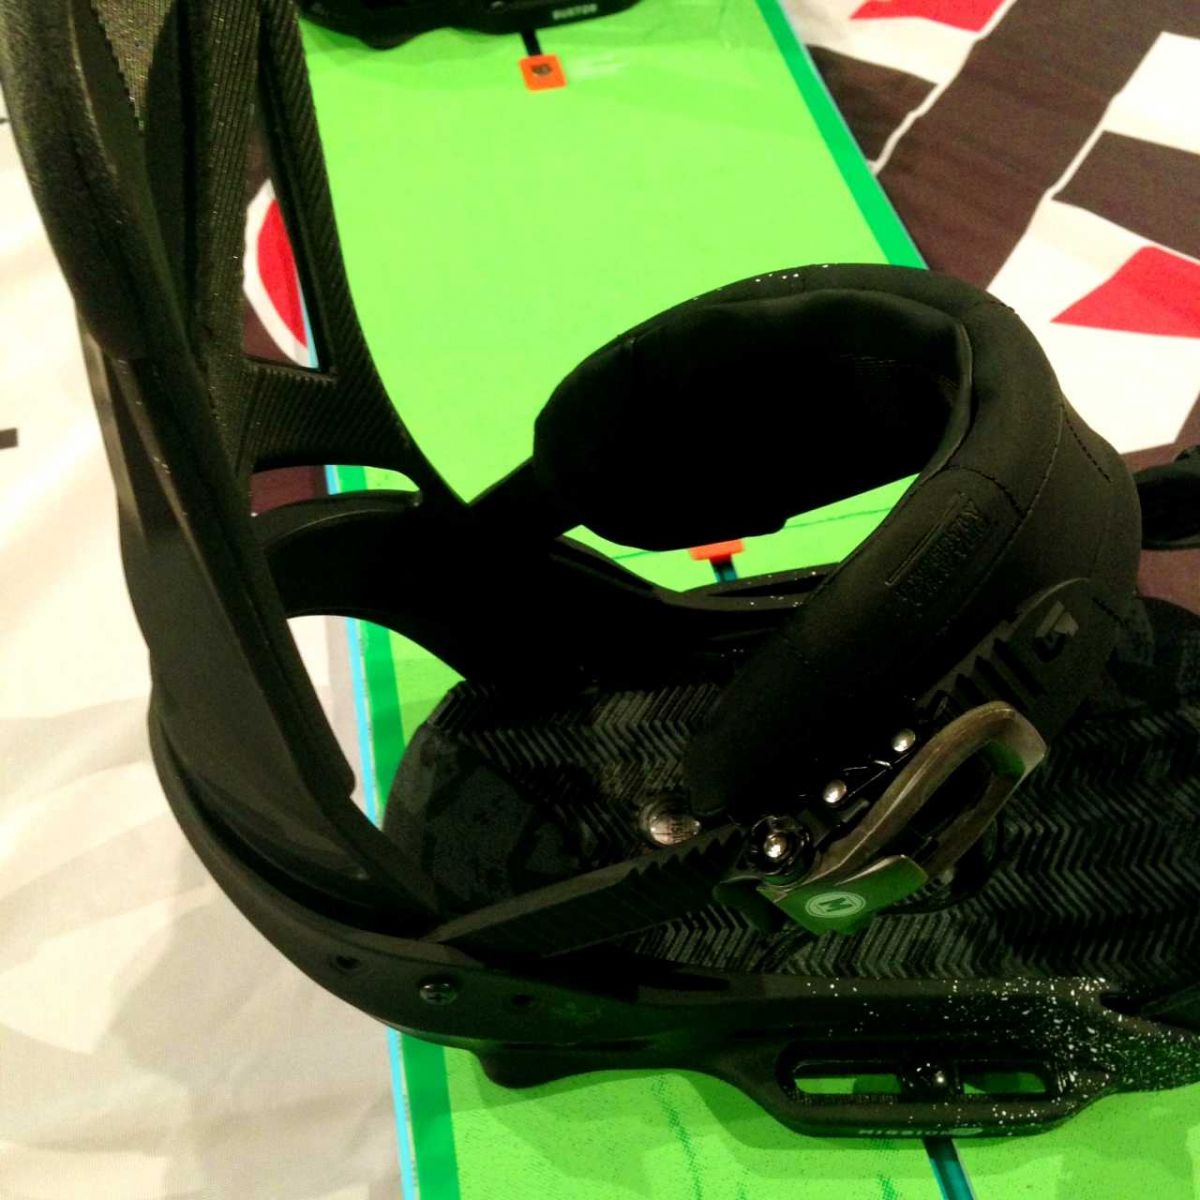
Mounting Burton EST Snowboard Bindings is easy and simple! Burton's EST system requires a few different mounting steps than the typical four-screw binding disc, which I will demonstrate in this helpful, "How To Blog". For demonstration purposes, I used a Burton Custom Snowboard 162 cm Wide with pair of Burton Mission EST Bindings size large. A screw driver is the only tool required to successfully mount a Burton EST binding (I used a number 3 driver to mount this particular binding, which is pictured below).
*These mounting instructions do not only apply to the Burton Mission EST. The Burton Cartel EST, Custom EST and any other EST binding Burton designs will follow the same simple mounting steps.
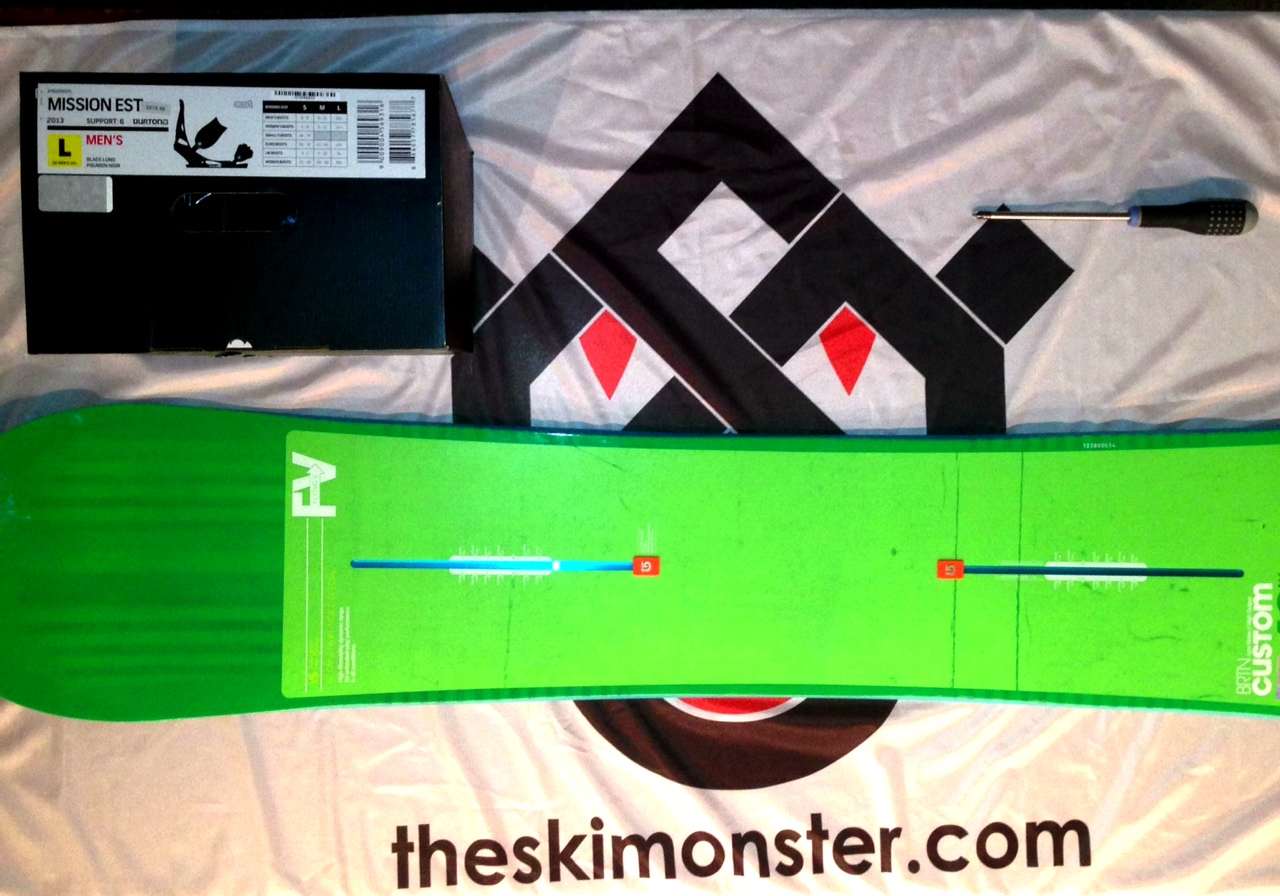
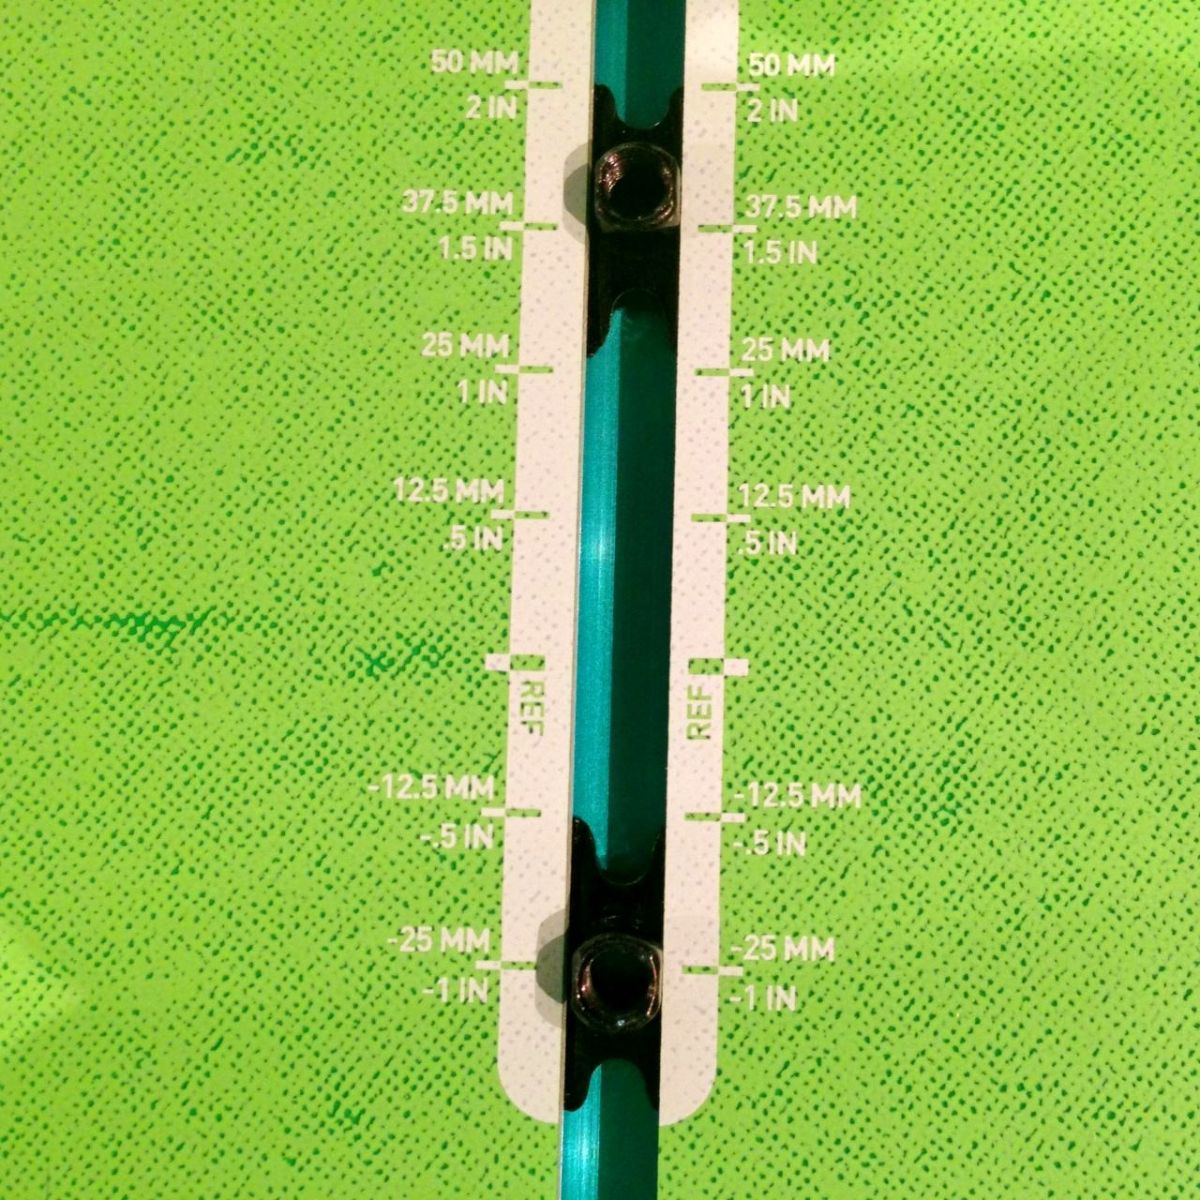
After removing the snowboard and bindings from Burton's clever packaging, locate the provided hardware. The channel screws will be found in the EST binding box and the channel sliding receivers should be attached to the side of the snowboard.
**If you purchased your Burton EST Snowboard and EST Binding separately, make sure that the snowboard has the included EST hardware. The Channel's sliding receivers will NOT be found in the binding box. The binding box will have screws only!
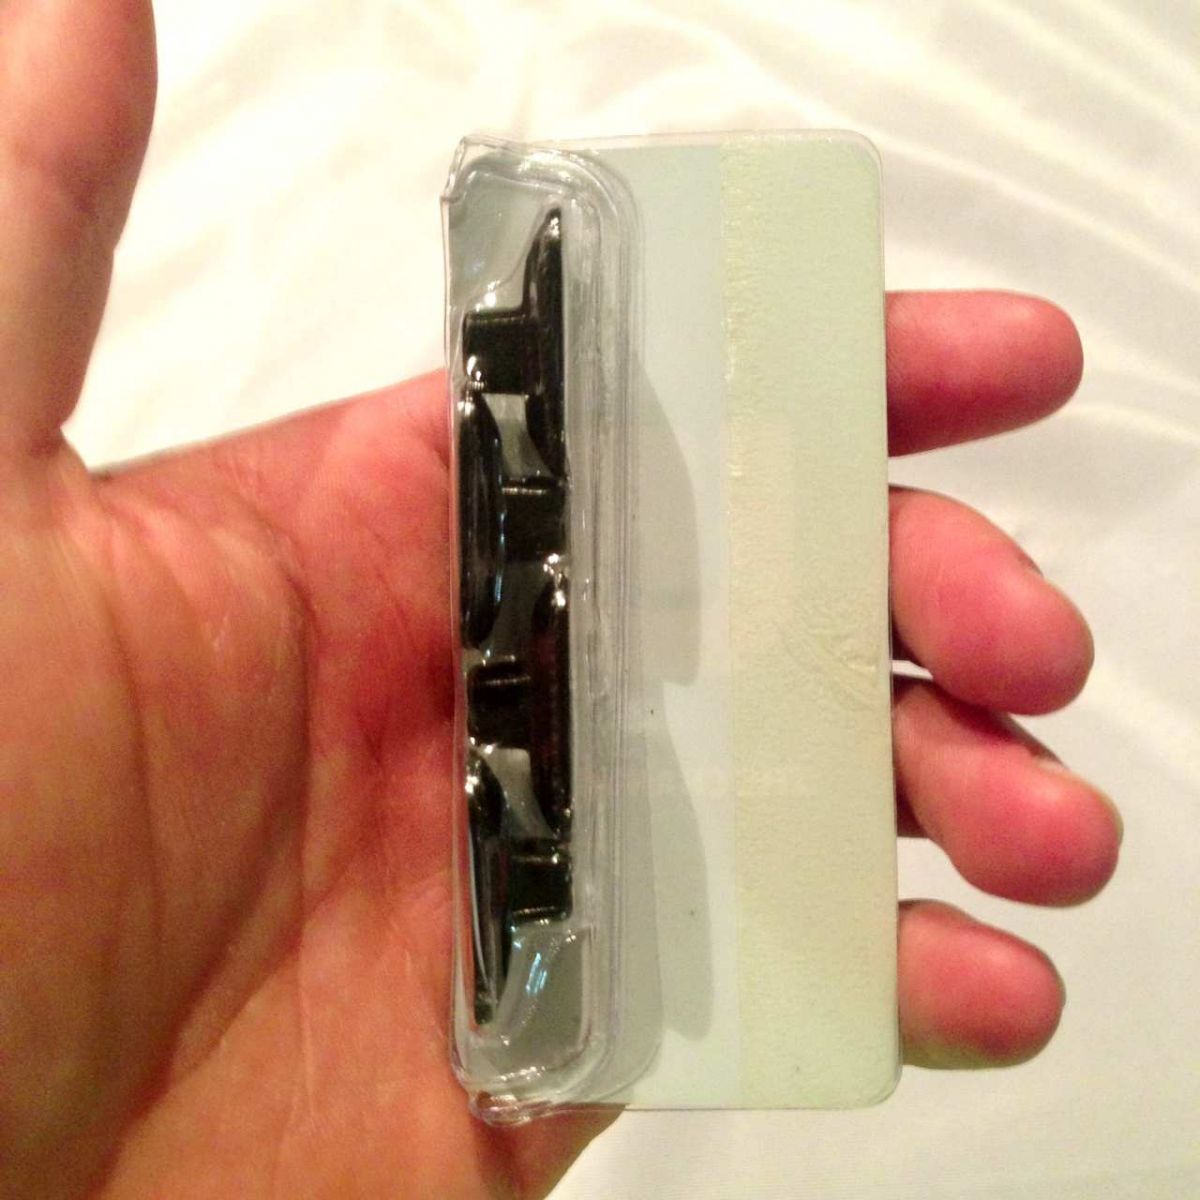
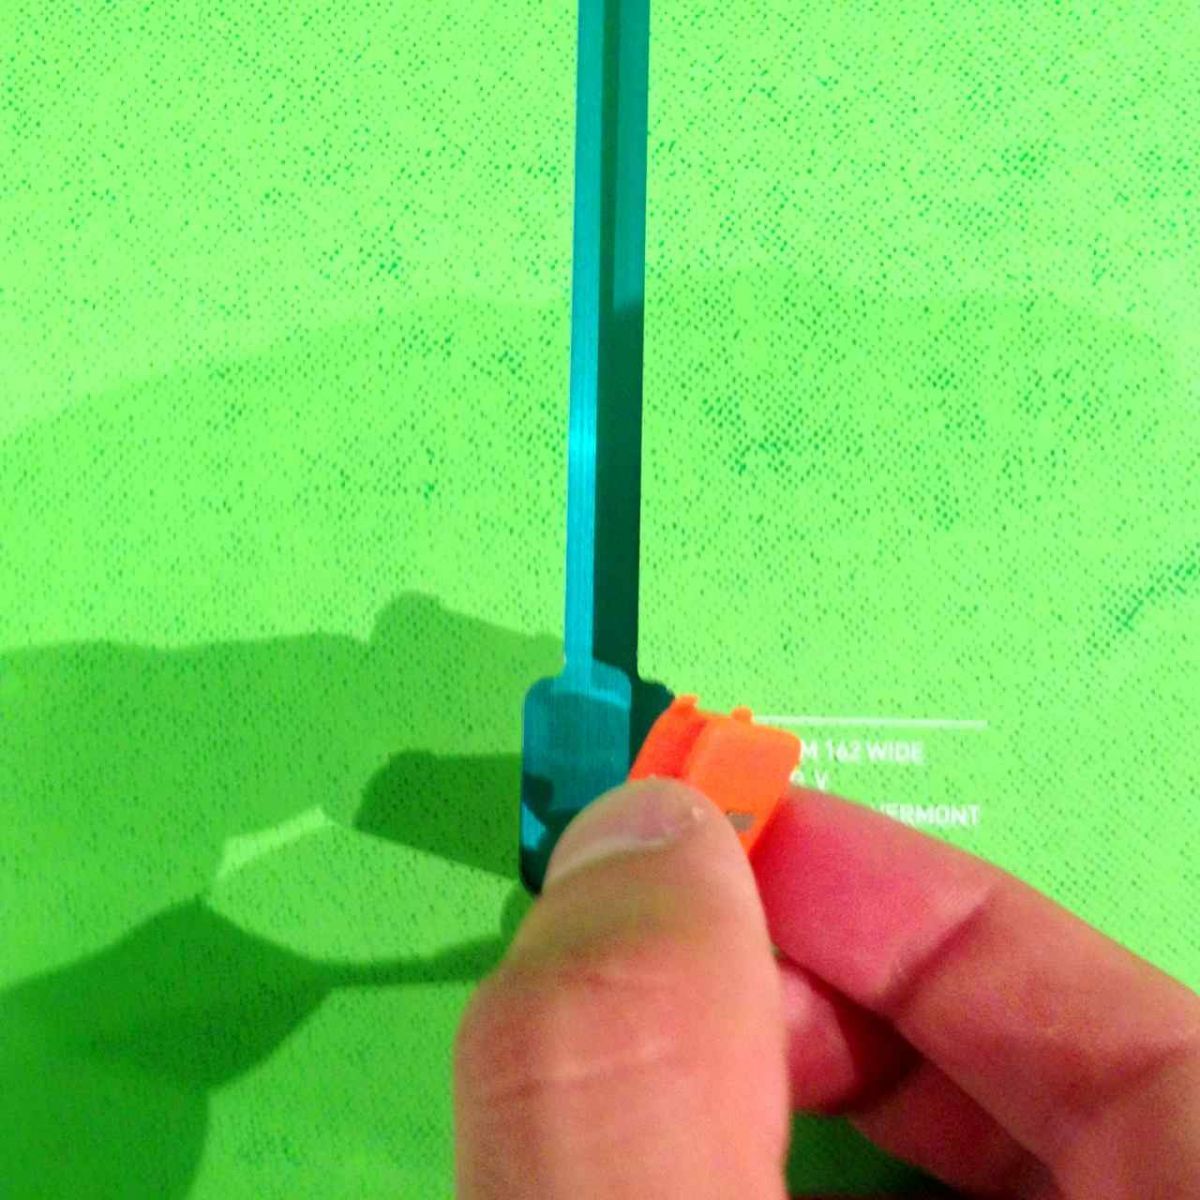
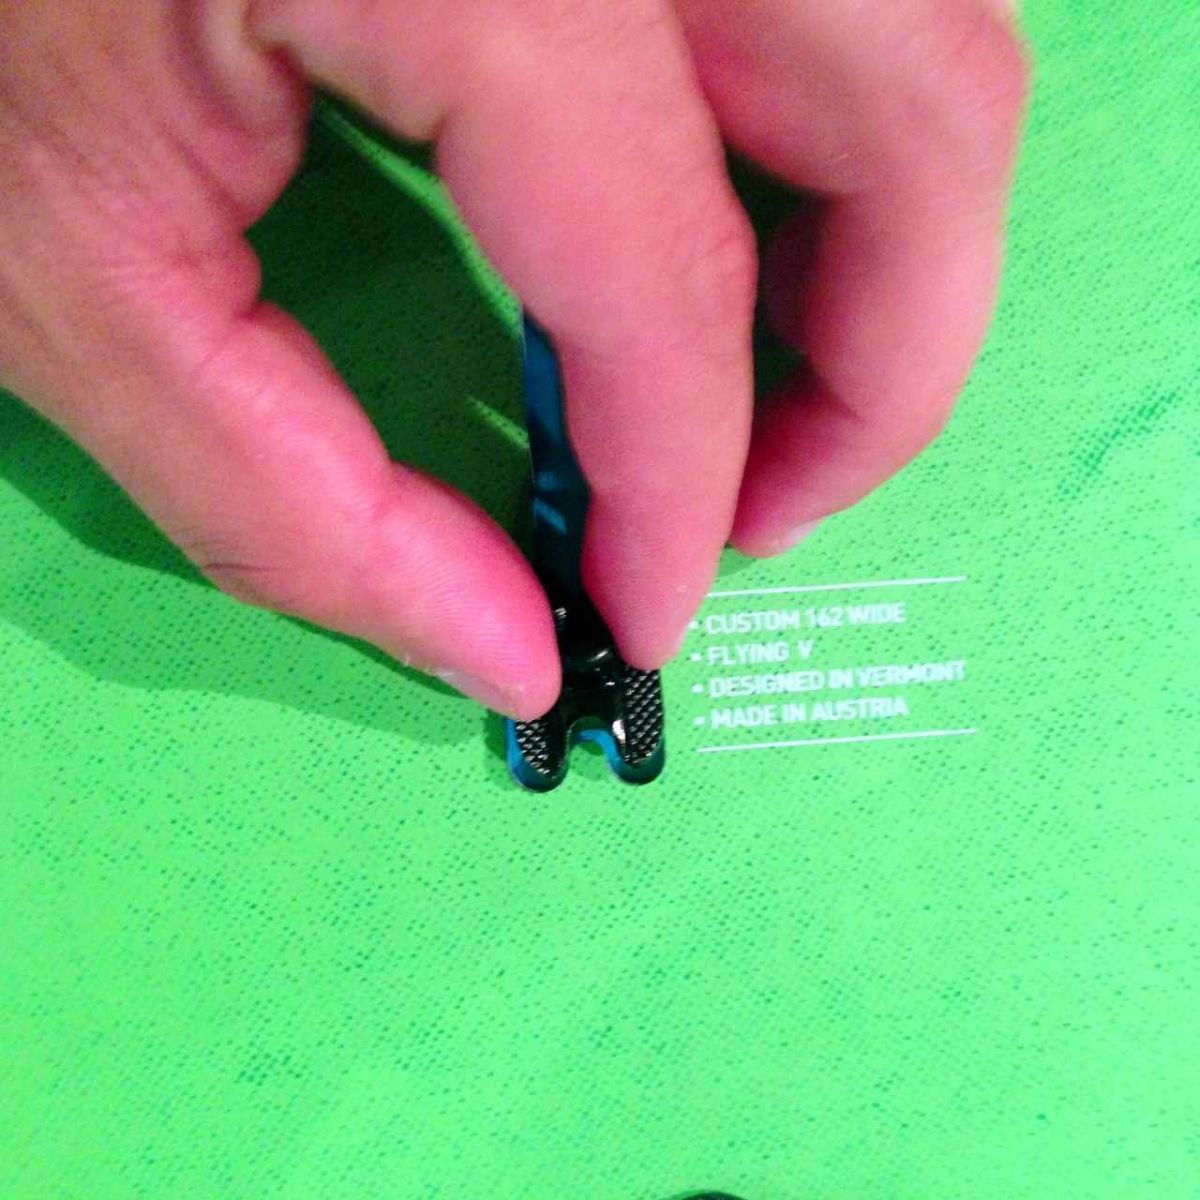
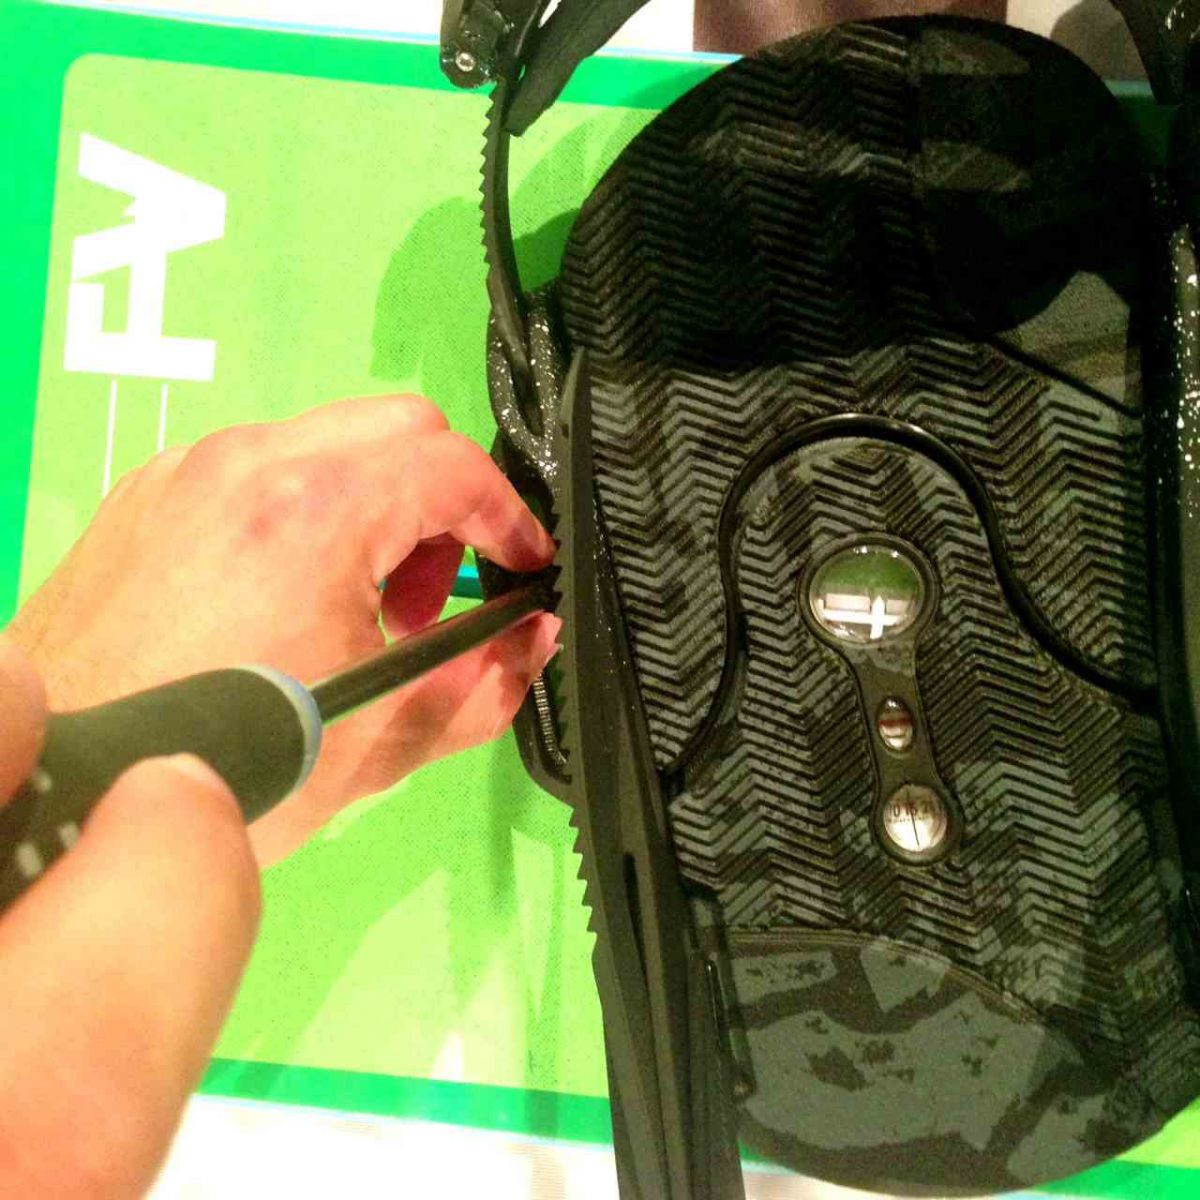
Once the all hardware is accounted for, remove the cool-looking rubber channel stoppers and insert the sliding channel hardware. The rubber pieces should easily pop out with a quick finger pull, but if they're being stubborn feel free to use a small flat head screw driver (Remember to plug the rubber stoppers back into place so that the metal inserts stay locked inside the channel).
Now that the metal inserts are positioned inside the channel, grab the bindings because it's time to turn some screws. You are going to line up the outside tracks of the binding with the metal inserts and loosely attach the screws. You want to turns the screws until the binding stays attached but is still able to slide freely on the channel. It is important that the binding can move because you still need to dial-in your stance.
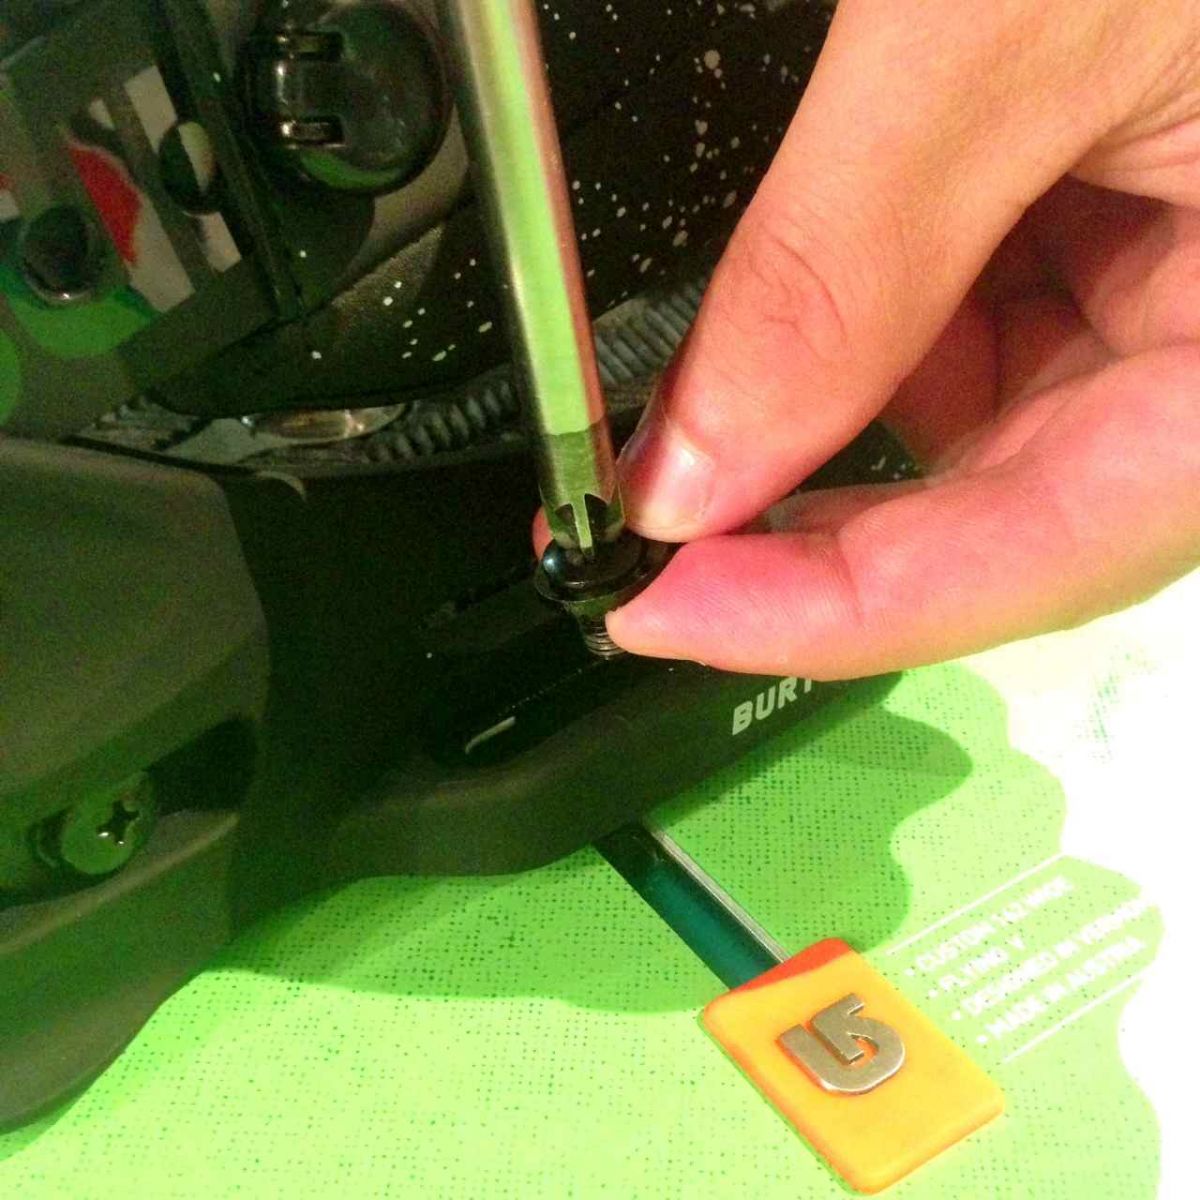
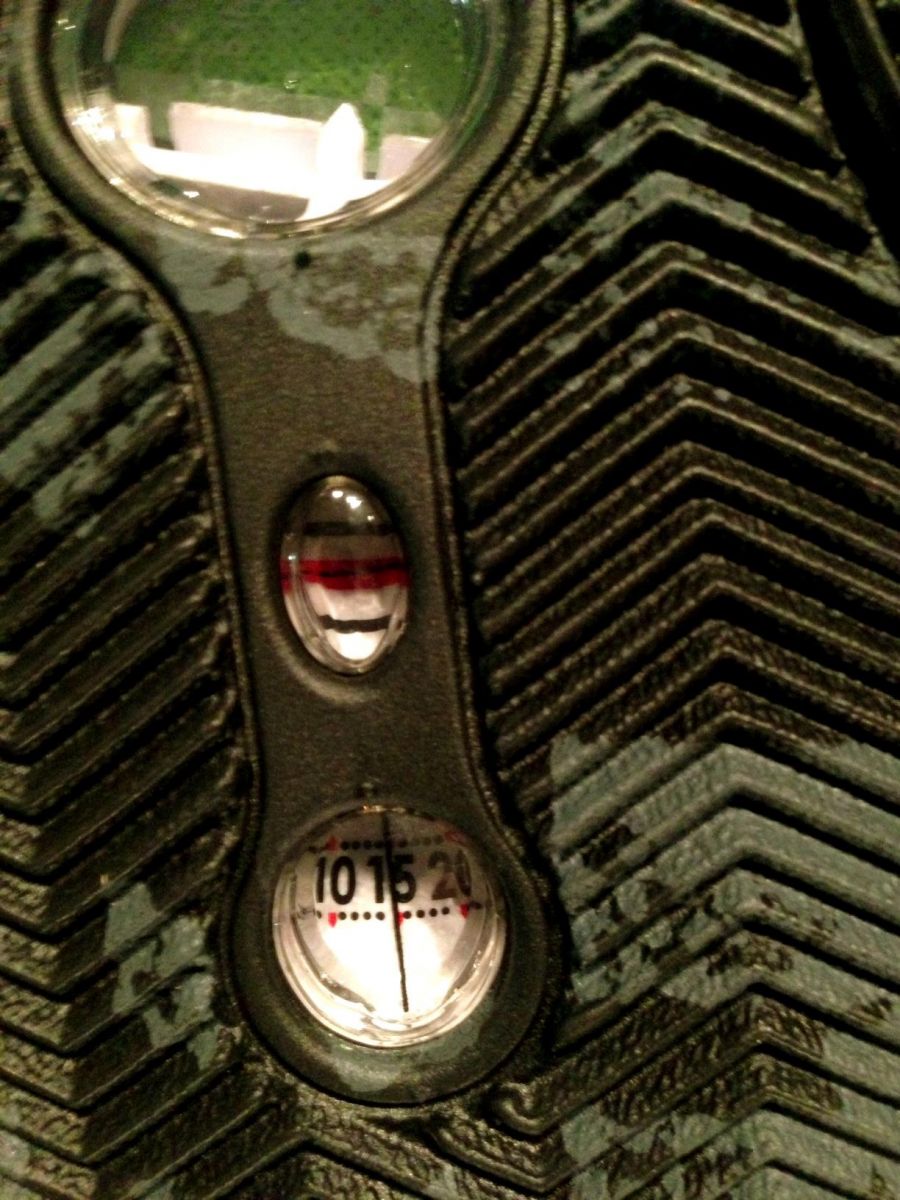
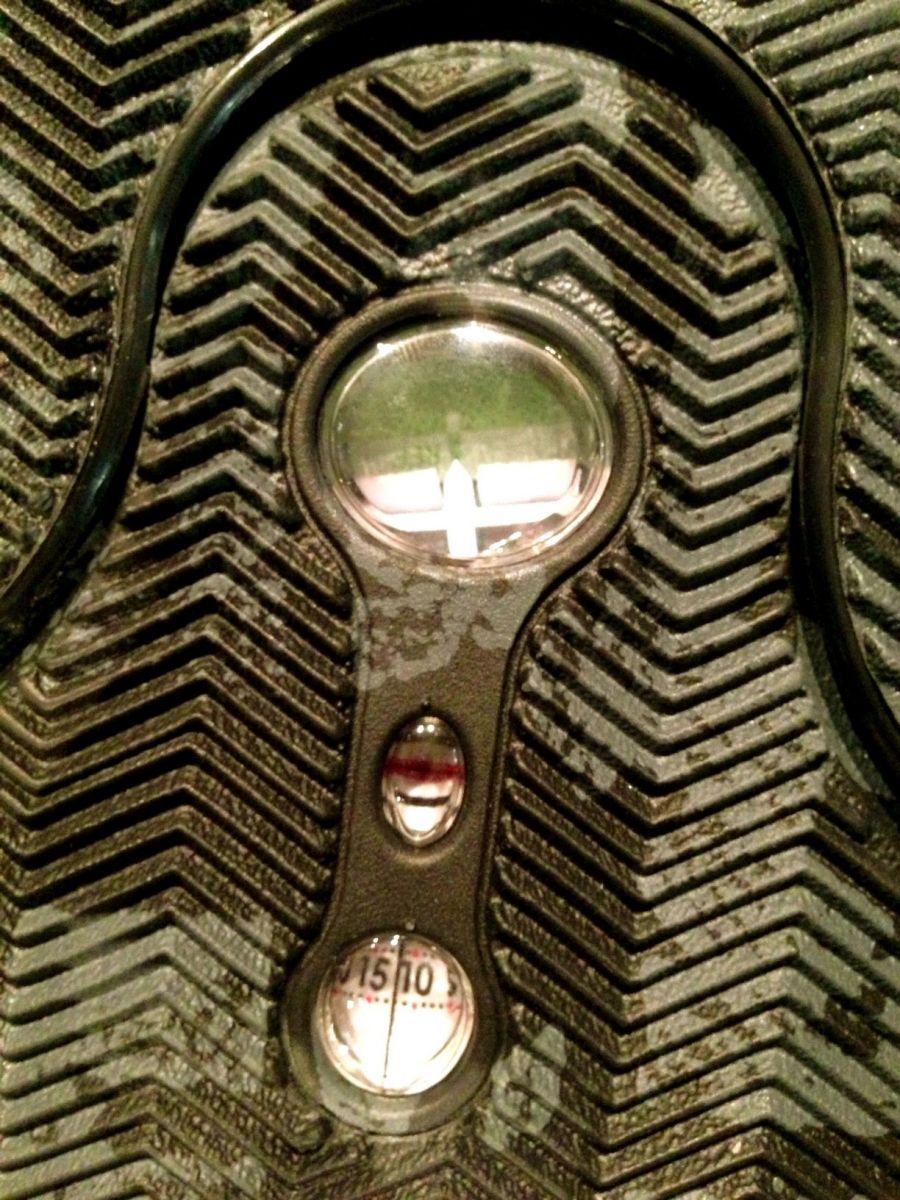
With the bindings loosely attached and the rubber stoppers locked-in place, it's time to adjust your angles and stance width. Every Burton EST Binding has an adjustment piece that sits perfectly inside the channel and allows you to customize your stance. The EST Binding is going to have three windows located on the foot board. These windows allow you to see all of your adjustments as you attempt to find the perfect position.
The big window shows you the bindings position on the snowboard. Use Burton's reference guide that is printed on the top-sheet as a easy guide to find your preferred front and back binding location. I mounted these bindings at Burton's "Reference Point", which is essentially there recommend neutral mounting location.
The small middle window shows you the bindings center point. Ideally, you want the thin black line to pass directly through the thicker red line. (shown in picture below). When you see these two reference markers line-up, the binding is now in a perfect centered mounting position.
The third window located closest to the heel side edge, is going to help you adjust the bindings angles. Snowboard binding angles will vary depending on the particular rider. Whatever your style of riding may be, the EST system will be able to find your sweet spot. For this demonstration, I mounted the front binding at +15 degrees and the back binding at -12 degrees.
Once you have all three reference windows exactly where you want them, tighten down the screws and give yourself a pat on the back... because you have just successfully mounted a pair of Burton EST Snowboard Bindings!!!

![]()