

Your Shopping Cart
Loading...
50% OFF OUR REGULAR PRICE WITH CODE: SENDING
Hot Items
Ski & Snowboard Outlets
How To Mount & Adjust Your Snowboard Bindings
Posted May 30, 2018 @ 12:00am | by Neil Soucy
Knowing how to mount and adjust your snowboard bindings is a skill that will allow you to make the most of your snowboard setup and adapt to any type of riding, condition, and board. While the bottom-line purpose of your bindings is to keep you attached to your snowboard, making the proper tweaks can make your riding experience much more fun.
Things to Consider
How do I know what the best setup is for me?
Riding Style: Riding style plays a large role is the way you want to position your bindings on your snowboard. An all-mountain rider typically feels more comfortable with their bindings setback from center slightly, and with their front foot angled more heavily than their back foot since they are likely riding in their dominant direction most of the time. A park rider typically sets their bindings up perfectly centered on the board, so they can ride either direction equally as well. They also tend to angle their feet the same amount so that riding switch feels the same. A freeride rider who is constantly looking for the freshest, deepest snow, will want their bindings set back even further to give themselves more power and drive off their back foot, and also have their angles set a little heavier than an all-mountain stance. The most common setup for freeriders is angles similar to those of all-mountain riders, with their stance setback further. Few and far between are the riders out there who set their angle on their back foot forward as well, known as a positive stance, which can help with carving on groomers or riding super steep terrain, but otherwise doesn’t make sense for most of us.
Conditions: The conditions at your local resort or secret spot can change the way your board feels under your feet, so it is crucial to set your bindings up in a way that compliments the conditions. On groomed or packed powder conditions, a comfortable stance either centered or setback slightly depending on your style will work well. These are likely your standard conditions that you will encounter on most trips to the mountain, so no crazy adjustments are needed here. If you get lucky enough to score a powder day, you will have a lot more fun if you tweak your bindings to accommodate the extra snow. Ideally, you will get your board to float across the top on the snow by making the tail of the board sink. To do this, slide your bindings back from the reference points printed on the mounting holes an inch or so, so that you have more nose of the board in front of your bindings and less tail behind. If you typically ride with your back foot angled the same as your front foot so you can ride switch, you can angle it back in closer to 0 degrees since you probably won’t be spending much time riding in both directions.
Board Type: Different boards are geared towards different riding styles, conditions, abilities, etc., but there is still room for adjustments to be made to your bindings to get the most out of your board. With all-mountain boards, you may be riding a twin, directional twin, or directional board, but regardless, your board is capable of doing a little bit of everything, and so should your binding setup. Some people feel more comfortable centered, while other like to be setback a little, there is no right or wrong here. With all-mountain boards, you want to feel comfortable enough to ride the whole mountain so dial in your preferences and make tweaks if conditions change. Park boards will almost always be a twin, and therefore ride the same in either direction. If you ride park, and ride switch as often or close to as often as you ride in the dominant direction, having your stance centered with your angles set the same will make the most sense for you. Powder boards will typically be directional in both shape and flex and will ride the best with your stance setback and a heavier angle on your front binding.
***On some all-mountain and powder boards the binding inserts will be set back for you, if this is the case, the reference point is a good starting point. If it gets really deep you can move your bindings back even further.***
Ability: Riders of different abilities will benefit from different binding setups. For the beginner rider, it often makes the most sense to have their stance centered at first to help them figure out whether they are regular or goofy. Once they have that dialed in, they can set their stance back slightly so that their dominant foot has more leverage. For the intermediate rider, it comes down to preference. At this point, you know whether you are regular or goofy, you know the kind of terrain you like to ride, and you have a pretty good idea of your own ability and limits. Find a comfortable stance width, play with the angles of your bindings to find a combination that works for your style, and make adjustments from there based on conditions and board type. For the advanced rider, play around with different board shapes and styles on different terrain and conditions if you can. You know how you like your bindings setup on your everyday board but that might change once you get on a specialty board. Borrow a buddy’s pow board on a deep day and figure out where you need your bindings in order to float or center your stance on a true twin and ride switch for a day.
Adjustments
What sort of adjustments can I make to my bindings?
Setback: The position of your bindings on the snowboard changes the length of the nose and tail of the board and where your weight is located above the board. With the bindings centered, your weight is in the middle and the nose and tail are the same length. With the bindings setback, your weight is over the tail, and the nose is longer than the tail, allowing the nose to float and tail to sink.
Width: Your stance width will change your center of gravity and balance on the board. A wider stance width will give you a lower center of gravity and more balance and stability while a narrower stance will allow you to maneuver a little easier and feel more natural. Assuming you purchased your snowboard in the correct size, the reference points printed on the binding inserts are probably a good starting point, if not spot on. Ultimately, you want your stance width to be comfortable, typically a little wider than shoulder width apart works for most riders.
Angles: The angles of your bindings on your snowboard can greatly impact the way your board feels and the way you are able to turn your snowboard. Usually, your front foot will have a larger angle than your back foot because most riders ride in their dominant direction the majority of the time. If you tend to ride switch occasionally, set your back binding to a smaller negative angle. If you ride park, set you bindings up with the same angles (i.e. Front: 15 degrees, Back: -15 degrees). Your stance angle is largely preference so set your bindings up with what feels comfortable standing on your board and make adjustments if you think you need to increase or decrease the angle on either binding.
Forward Lean: The forward lean of your bindings is the angle that the high back of your binding sits at. Having your high back angled forward will bend your knees and put you in a more aggressive posture. This will provide more control for a rider who likes to go fast and make deep carves, while a high back with no forward lean creates a more casual posture. Little to no forward lean allows a rider to have a more comfortable stance but offers less control at higher speeds.
How-To
How do I actually put these things on my board?
Regular or Goofy?
A regular footed rider rides with their right foot in the back, and their left foot in the front. A goofy footed rider rides with their left foot in the back and their right foot in the front. To determine your natural stance, think of sliding across a hardwood floor with socks on, or if you have a friend close by, how you would stop yourself from falling if they pushed you from behind. For some, the ‘foot you would kick a soccer ball with’ method works, but that is not always the case because we are talking about a sliding motion rather than a kicking or swinging motion.
Regular:
Goofy:
.jpg)
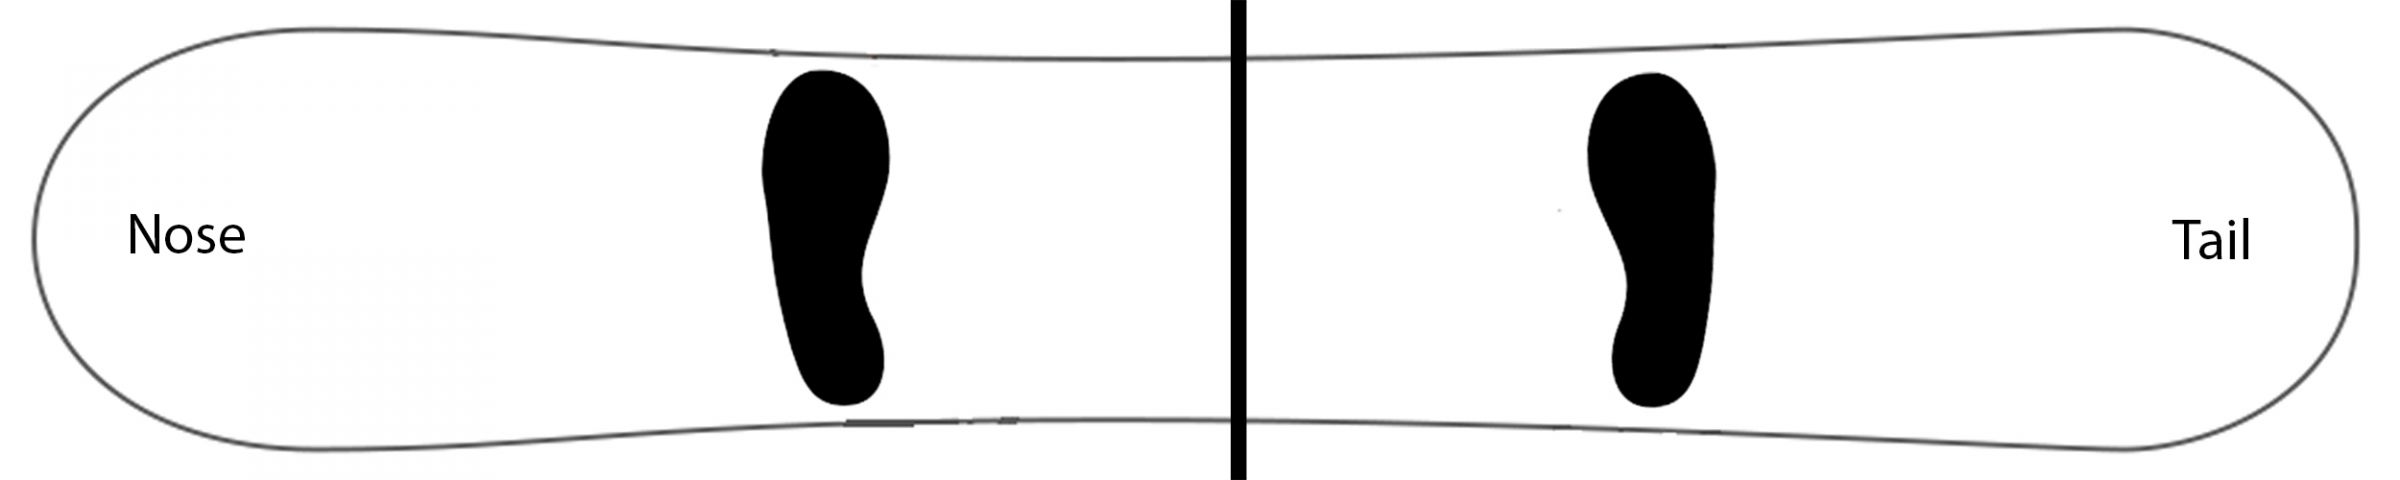
Find Your Stance Width
After you have determined whether you are regular or goofy, it is time to figure out how far apart you will want your bindings. This can be done a couple of different ways. A good starting point is to look at the binding inserts on your snowboard and stand on top of the reference points. If this feels comfortable, you can set your board up here for starters and make adjustments afterwards. The other way to do it is to hop on your board with your feet a little wider than shoulder width apart, get them in a comfortable position, and measure the distance between the center point of each foot.
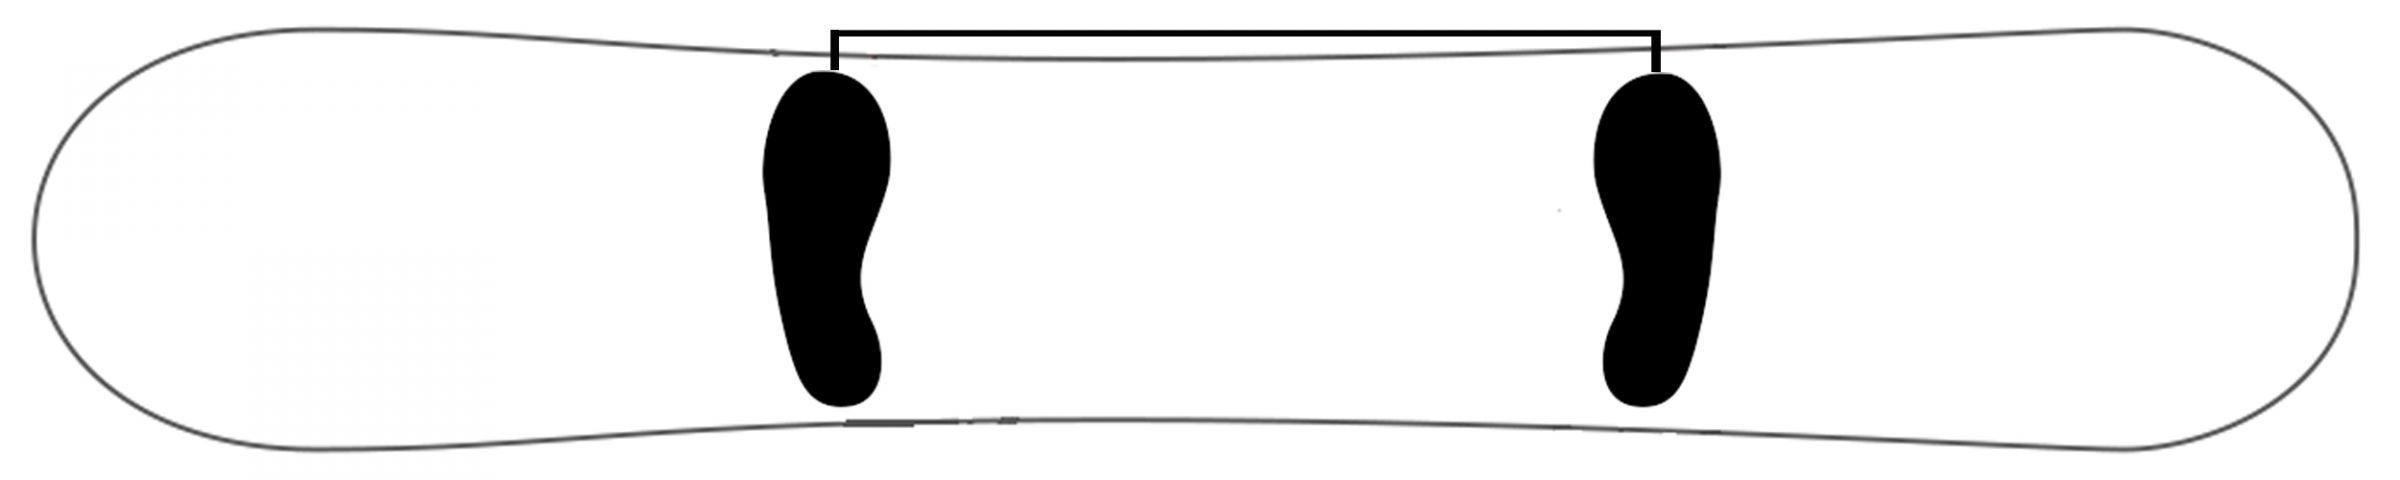
Do You Need Setback?
The reference points on your snowboard are typically the best place to start when mounting your bindings. If your stance width is different from the width of the reference points, you can slide them either together or apart to get to the correct width. If you want to set your board up for deeper snow or more power from your back foot, shift both bindings back an inch or so, keeping the width between the two the same.
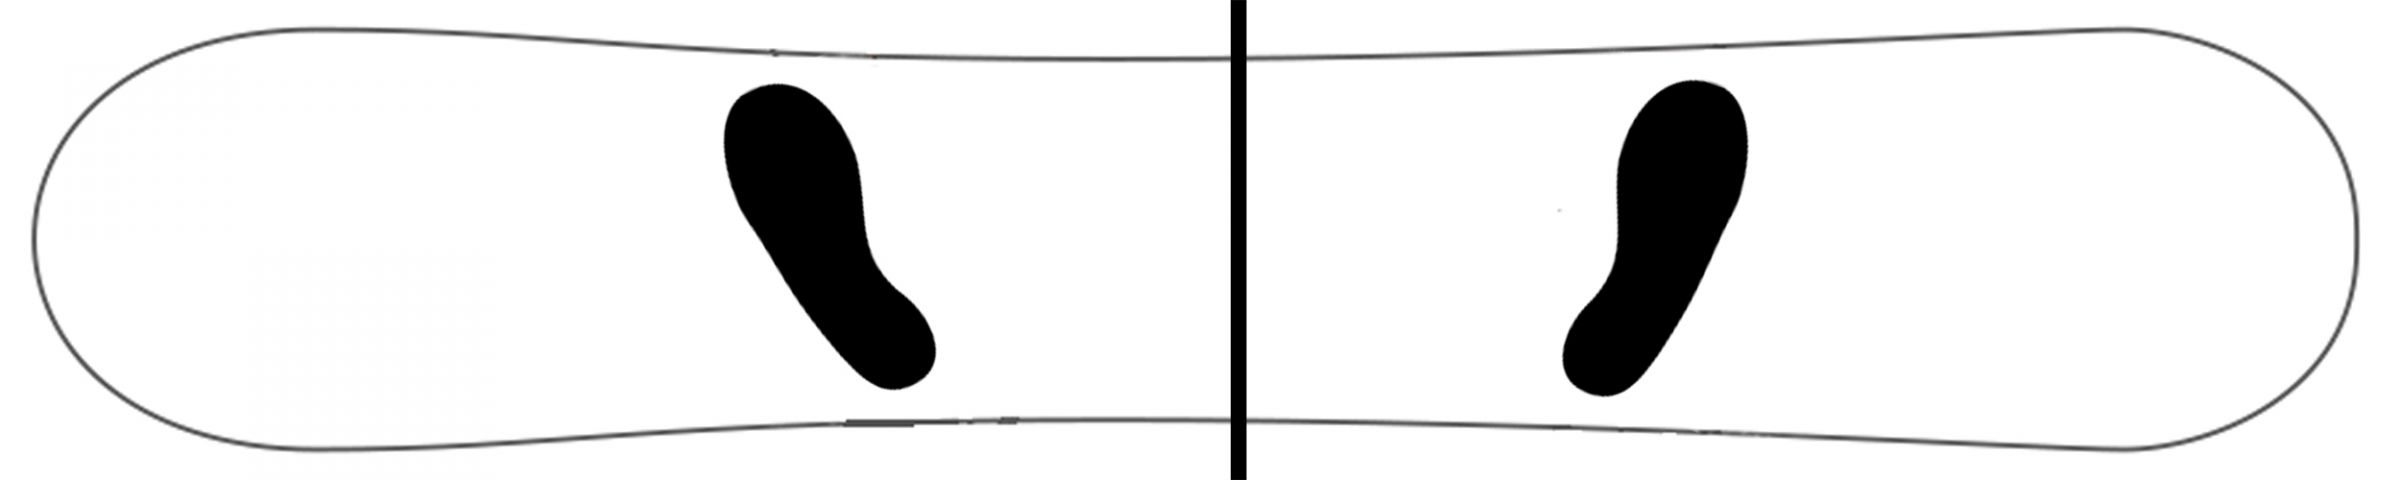
Centered Stance:
.jpg)
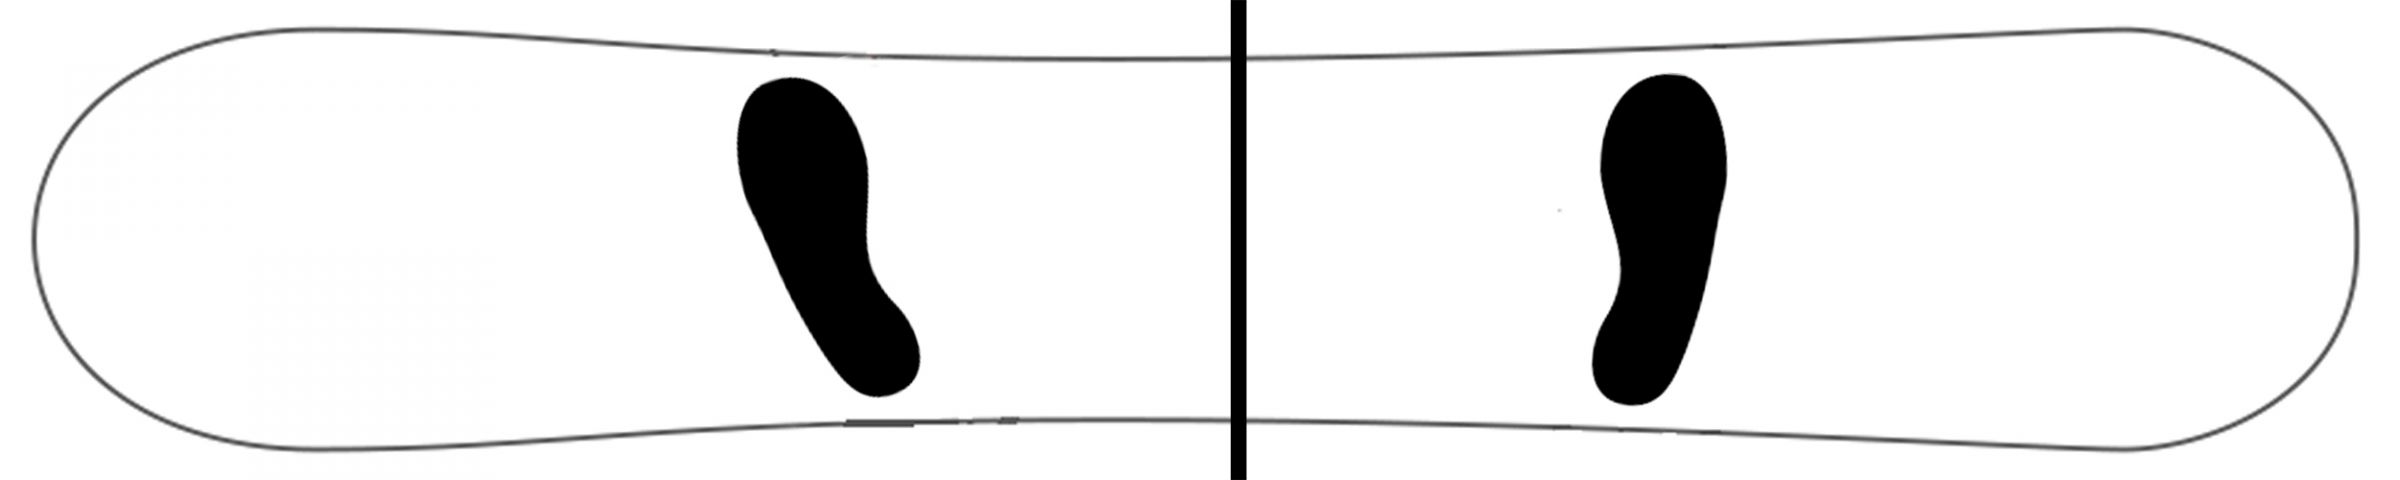
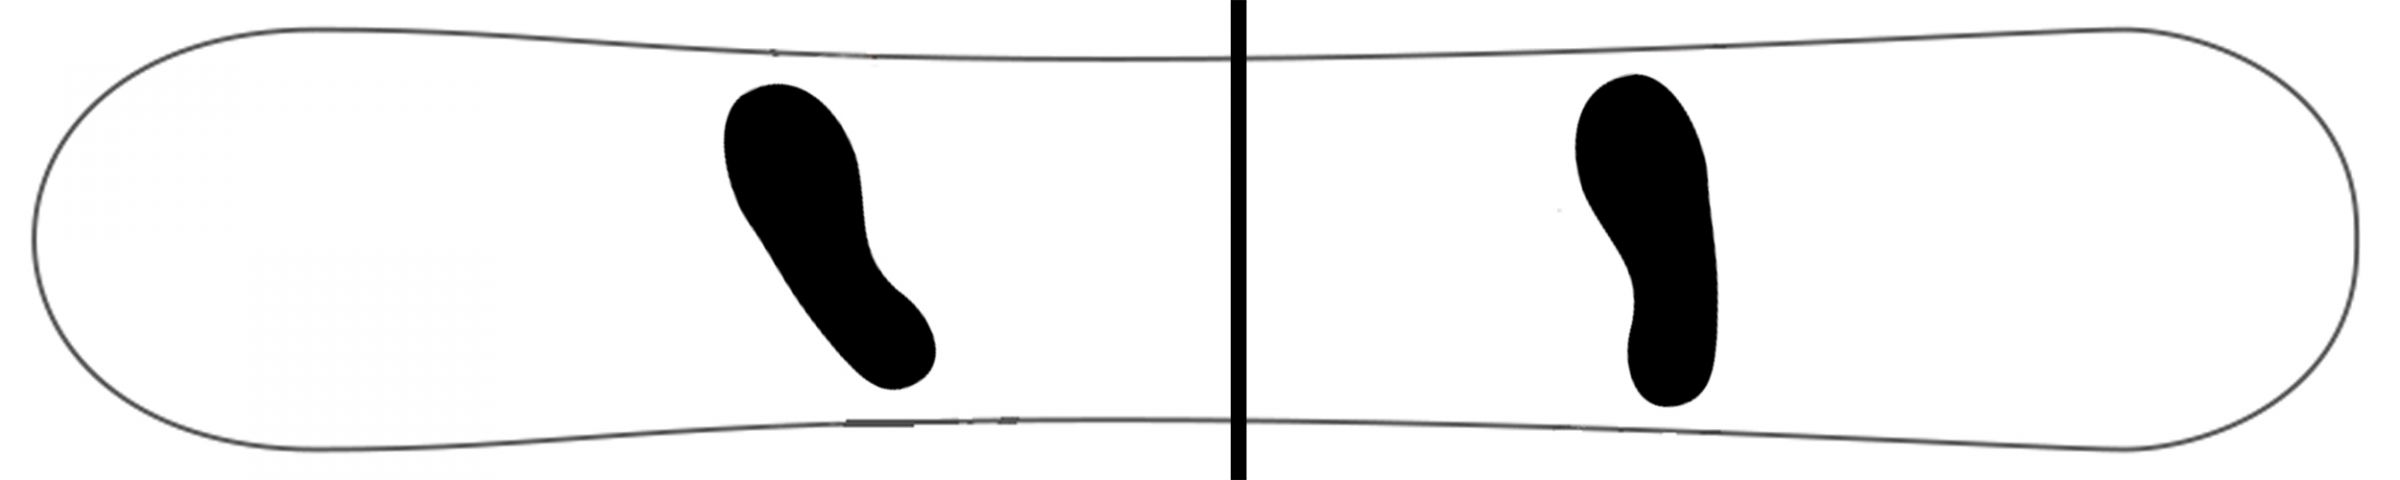
Setback Stance:
.jpg)
Picking Your Angles
When choosing your angles, keep in mind your riding style and the terrain you will be riding as mentioned above. From there, find what is most comfortable for you. If you’re riding all-mountain, your front foot should have a larger angle than your back foot. You may ride switch on occasion and find that having a slight negative angle on your back foot is more comfortable than no angle at all. If you’re riding park, it makes sense to have your feet at the same angles, but one rider may find 15/-15 comfortable while you’re more comfortable at 10/-10.
All-Mountain/Freeride Stance:
Park Stance:
Positive Stance:
Mounting
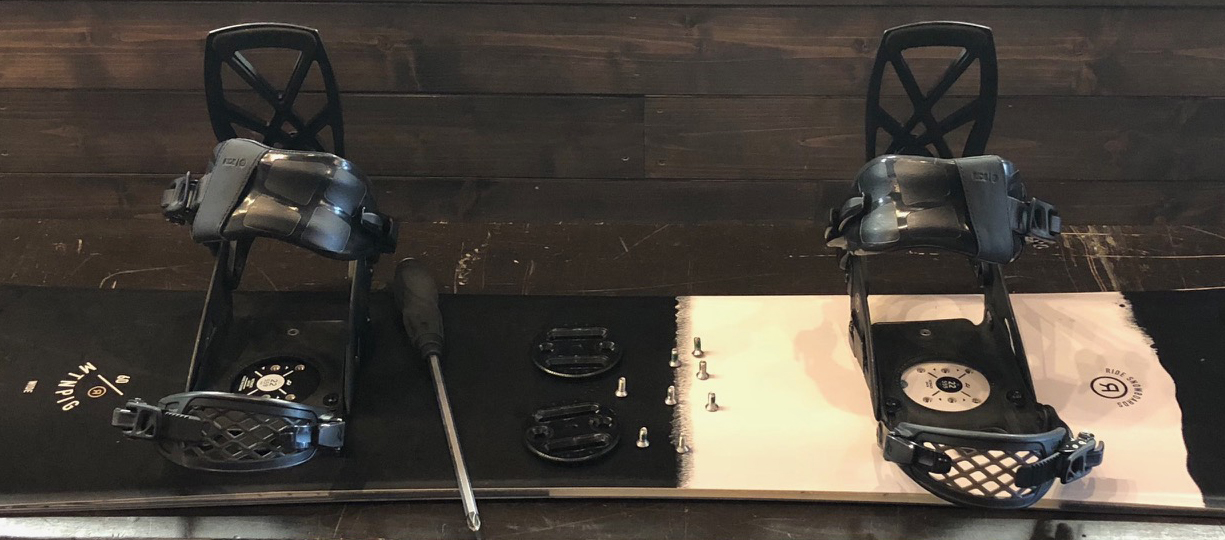
Now that you have your stance direction, width, setback, and angles figured out, you are ready to mount your bindings to your snowboard. If you’re mounting bindings to a snowboard that uses either a 4 x 4 or 2 x 4 hole pattern, you will have two baseplate discs with degrees marked around the edge for your angles, indicators on the baseplates to help you line up your desired angles, and eight screws that will mount everything together.
- Fold up or unscrew the footbed in each binding and insert your baseplates.
- Set your baseplates to the appropriate angles you decided on, making sure to set your front binding to the positive angle, and your back foot to the negative or zero angle.
- Place your bindings with baseplates onto your board and line up the holes in the baseplates with the reference points on your snowboard.
- If you are comfortable at the reference points, then your bindings are in the right spot. If you need to make your stance wider or narrower, slide your bindings either closer together or further apart so that they match your desired width.
- Either leave your bindings where they are or slide them both back by the same amount if you want to have your stance setback.
- Remeasure the width between the center of each binding and double check your stance angles.
- Insert the screws and washers into all four holes on each binding and tighten down until your bindings are secure.
- Throw on your boots, make sure your straps are adjusted to fit, and see how it feels.
- Make any necessary adjustments and tweaks. Adjust forward lean, fix stance angles, etc.
- Go riding!!!
If you are mounting Burton EST bindings onto a snowboard using The Channel, check out How To Mount Burton EST Snowboard Bindings.
Filed Under: Snowboard Bindings
| Permalink